
After spending half of 2024 diving deep into Roblox VFX creation, I’ve curated a list of must-have plugins that will seriously upgrade your effects workflow. Whether you’re just getting started or trying to level up your particle game, these tools—and the tips that come with them—will save you hours of guesswork.
Let’s get into the plugins, tools, and pro tips every VFX creator should know.
First Things First: Editor Quality Settings
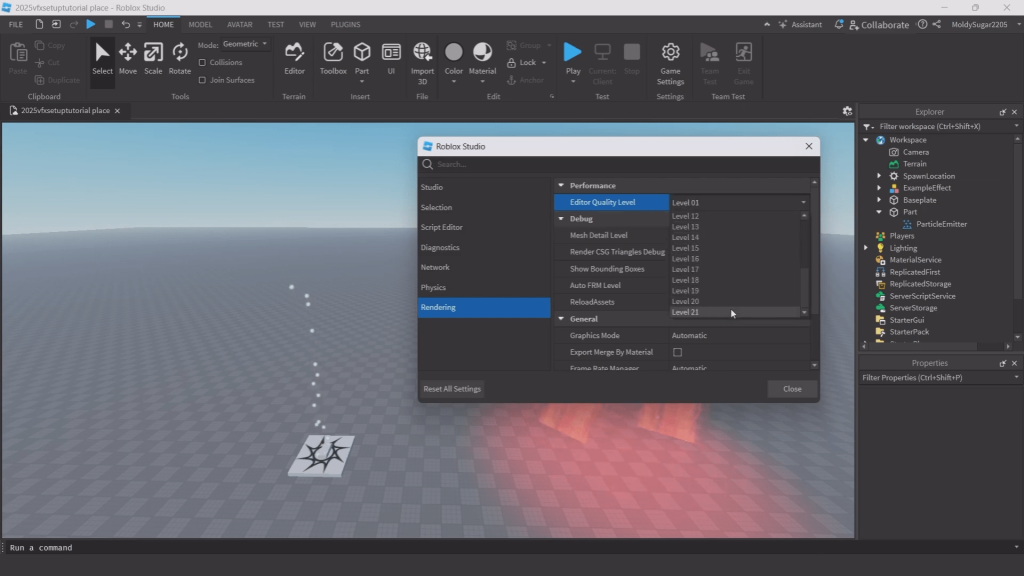
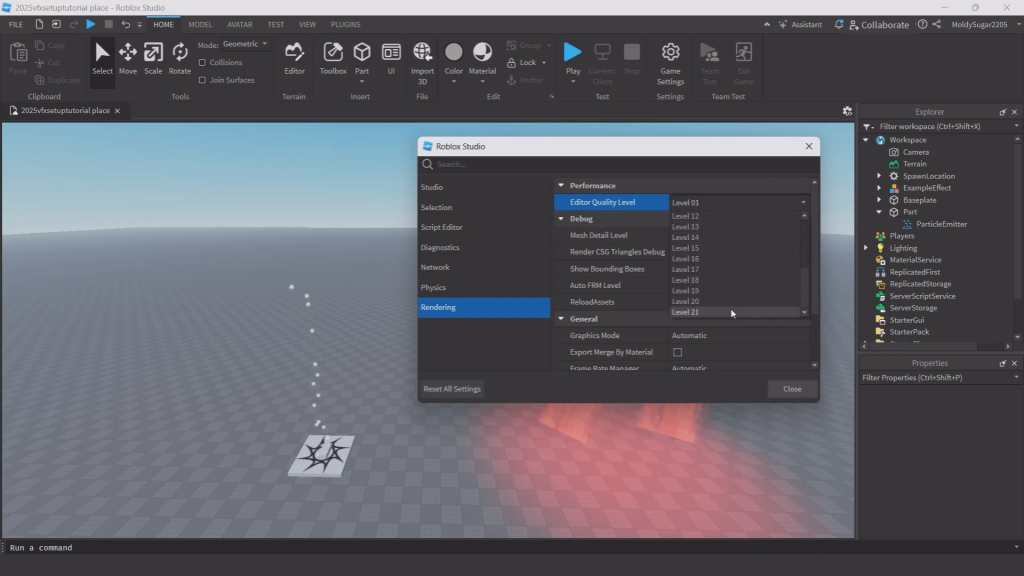
Before jumping into plugins, make sure your Editor Quality is set correctly. It makes a huge visual difference when designing effects.
- Open any experience in Roblox Studio.
- Add a Part and insert a ParticleEmitter into it.
- Go to
File > Studio Settings > Rendering. - Set Editor Quality Level to 21.
This is like setting your Roblox graphics to max—it helps you see the full quality of your effects as you build them.
How to do it:
VFX Editor
[Get the plugin →]
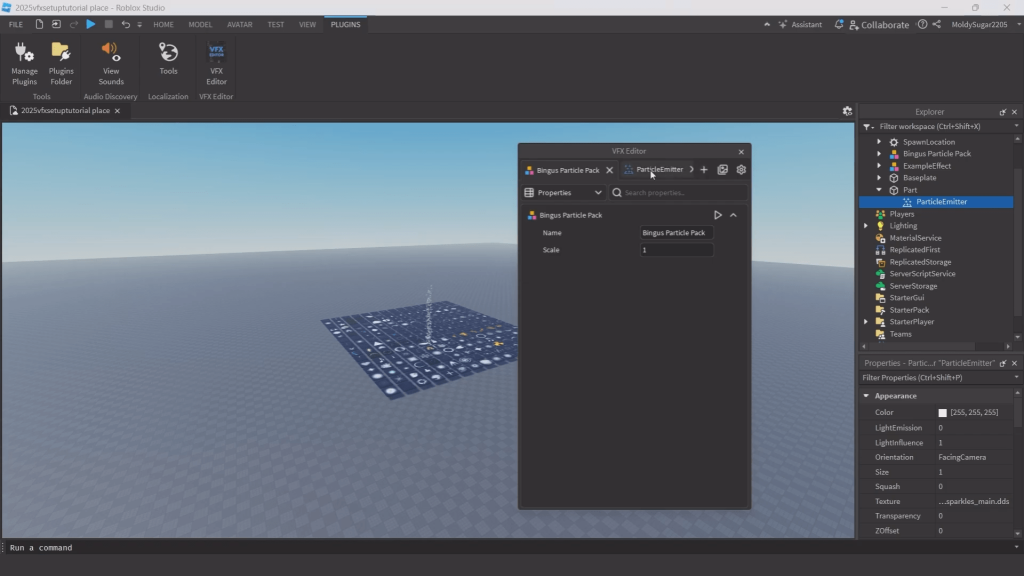


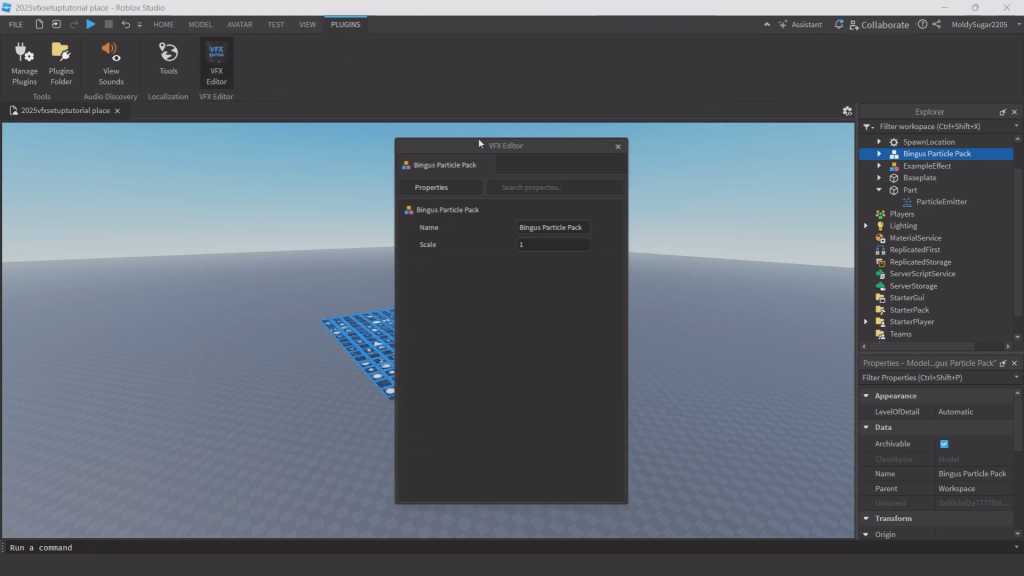
If you’ve ever tried updating particle textures in Roblox yourself, you know how slow and tedious it can get. Swapping textures, especially across numerous emitters, tends to be very slow and janky.
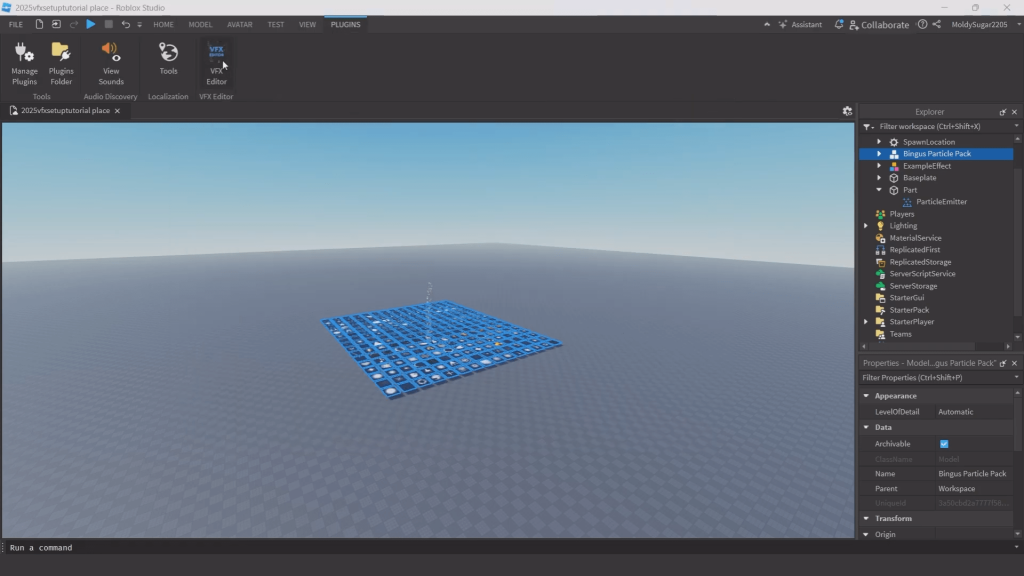
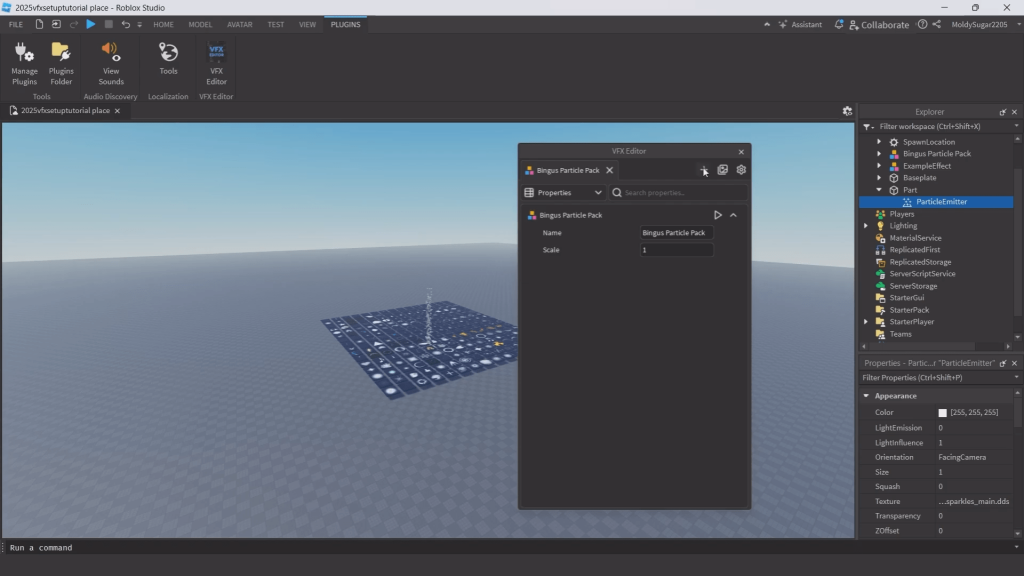
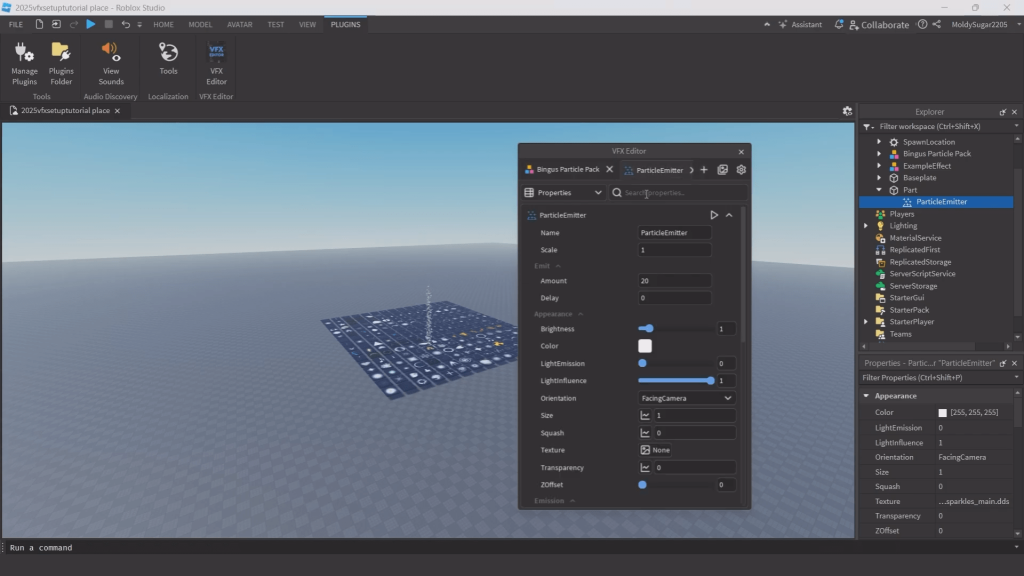
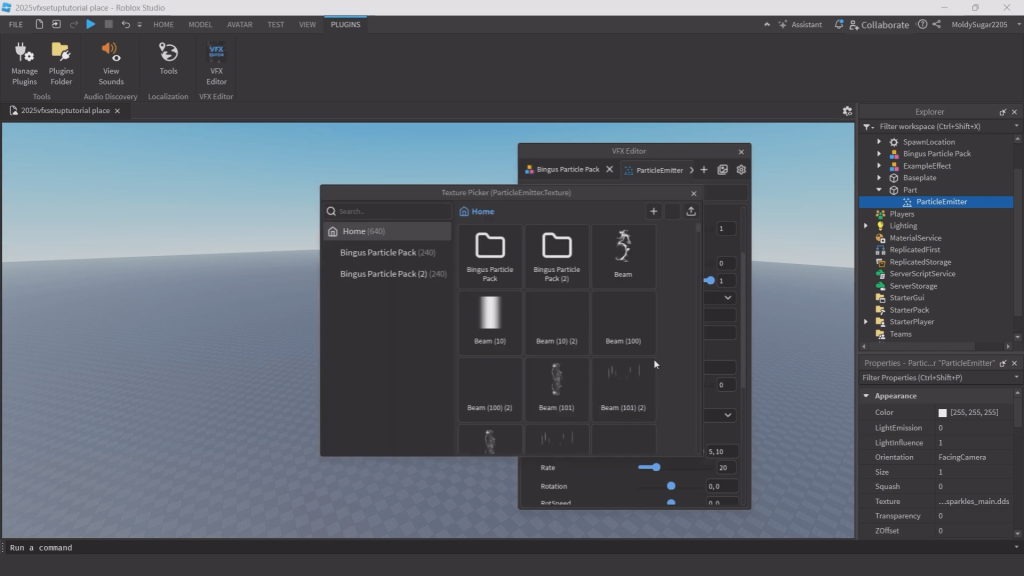
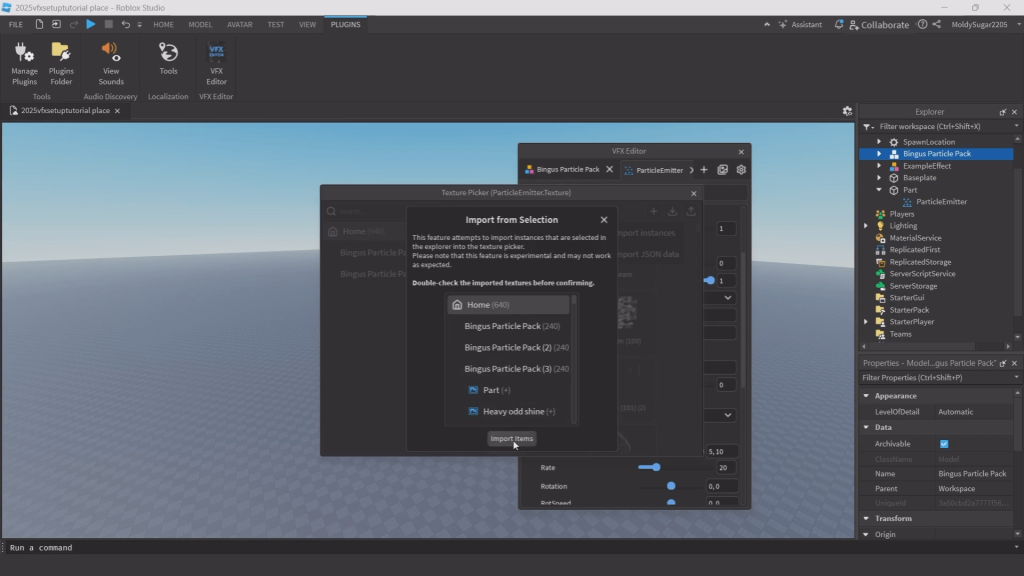
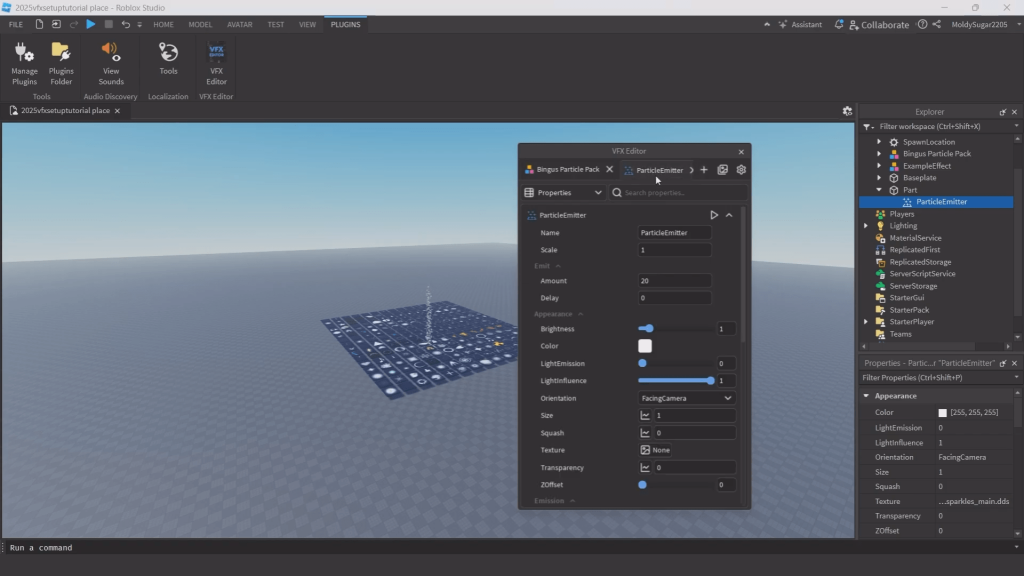
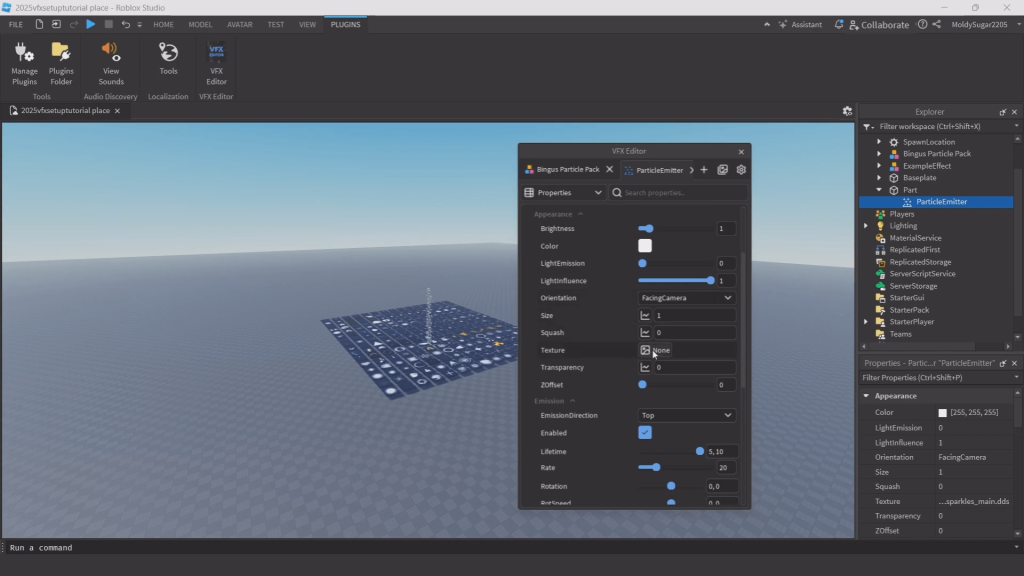
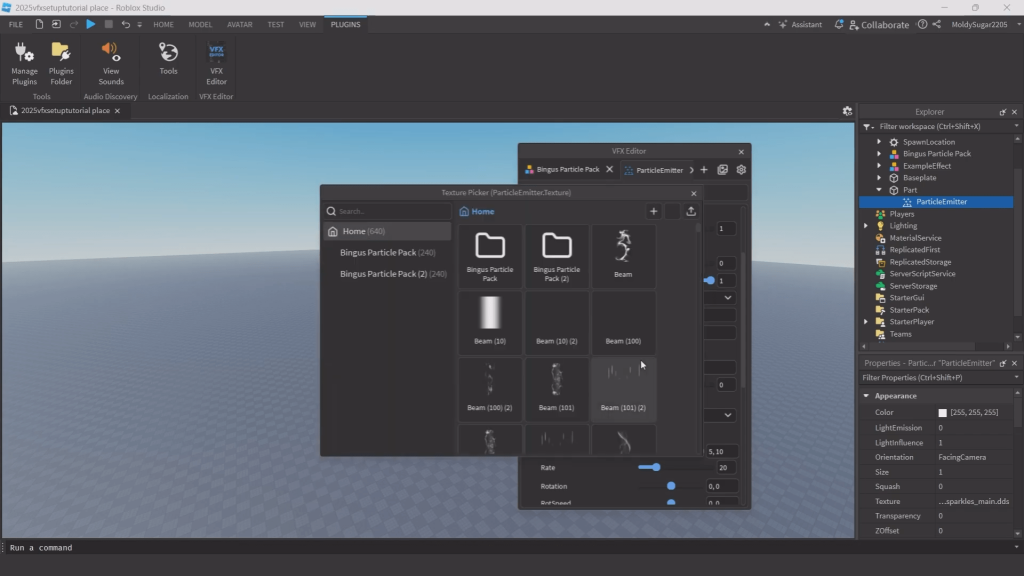
VFX Editor can help fix that. It’s a free to use plugin that gives you real time texture editing for particles, letting you instantly preview changes without needing to dive into menus. All you have to do is select a particle, load your texture pack and you’re good to go.
It’s perfect for VFX artists who want to rapidly update the look of their game without redoing their setup. You can swap textures on fast, store frequently used assets, and keep your creative flow uninterrupted.
While it also lets you adjust other properties, I personally use it just for texture work and it’s worth it for that alone.
If you want to speed up texture workflows and preview changes live, this plugin is a must. You see the full quality of your effects as you build them.
Particle Emitter Scaler
[Get the plugin →]
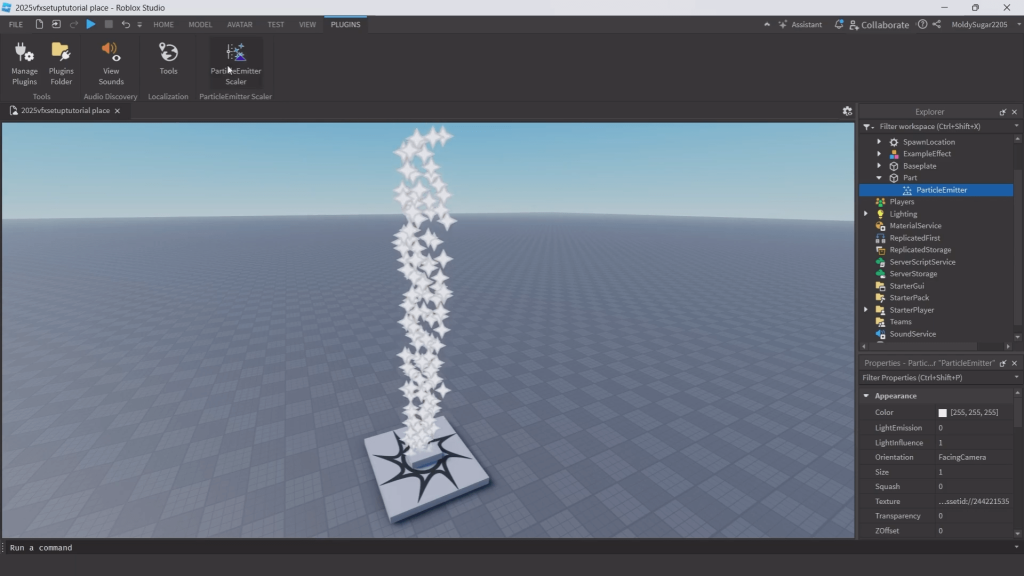
Ever built a layered effect with five different emitters and realized… they all need to be resized?
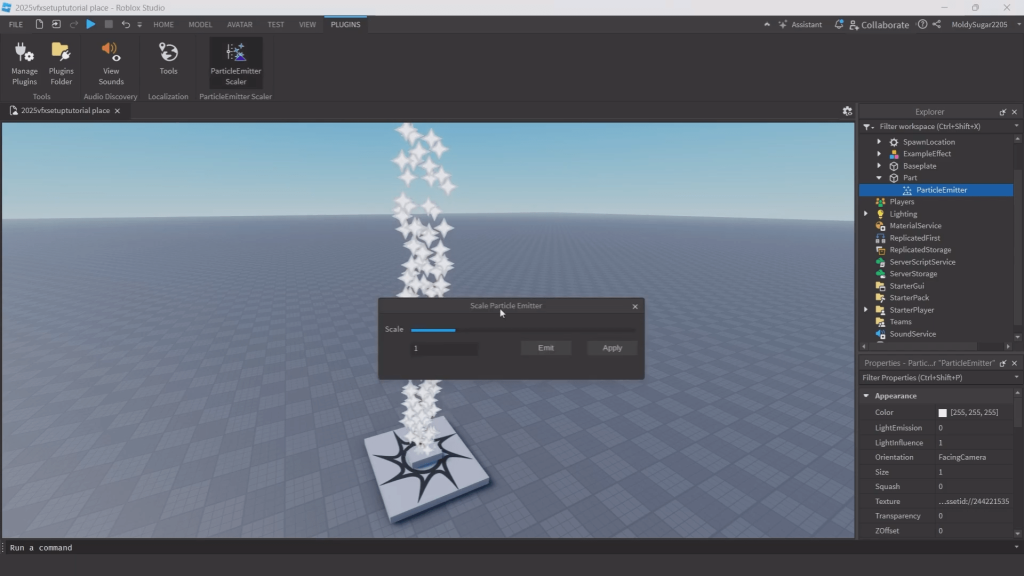
The Particle Emitter Scaler makes that process painless. Instead of adjusting each particle manually, this plugin gives you a simple slider to scale one or more emitters at once.
It’s ideal for tweaking VFX size during polish passes or quickly experimenting with proportions. Whether you’re working on explosions, trails, or sparkles, scaling is fast and intuitive.
This one’s especially useful if you build effects modularly or tweak sizing late in development.
Simple idea, massive time-saver.
Ros Particle Editor
[Get the plugin →]


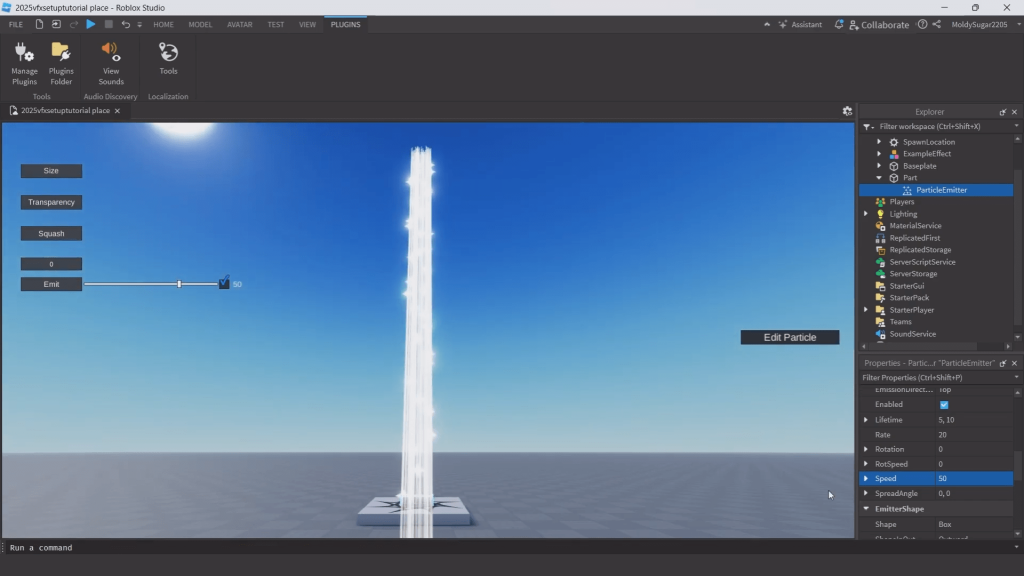
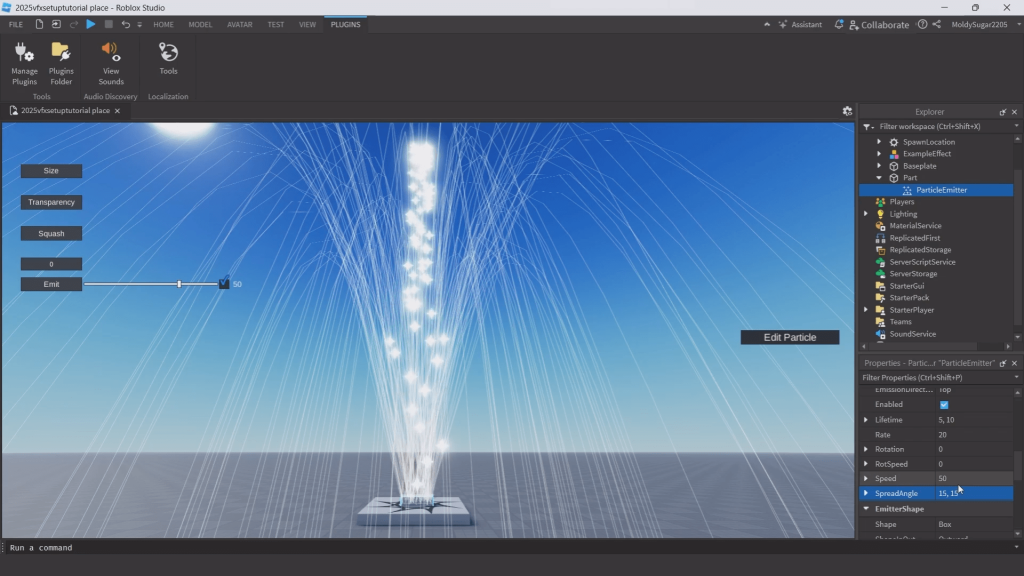
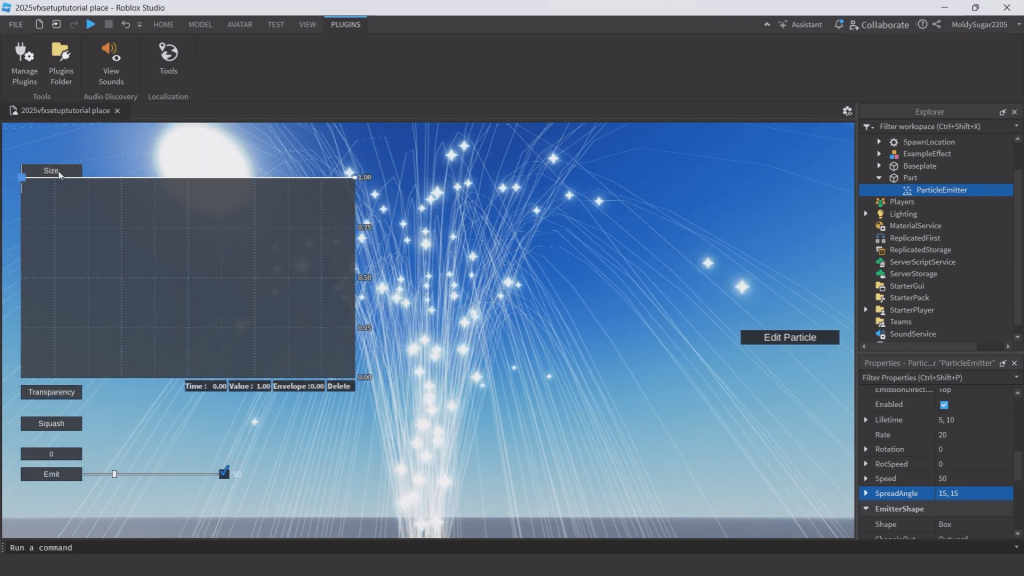
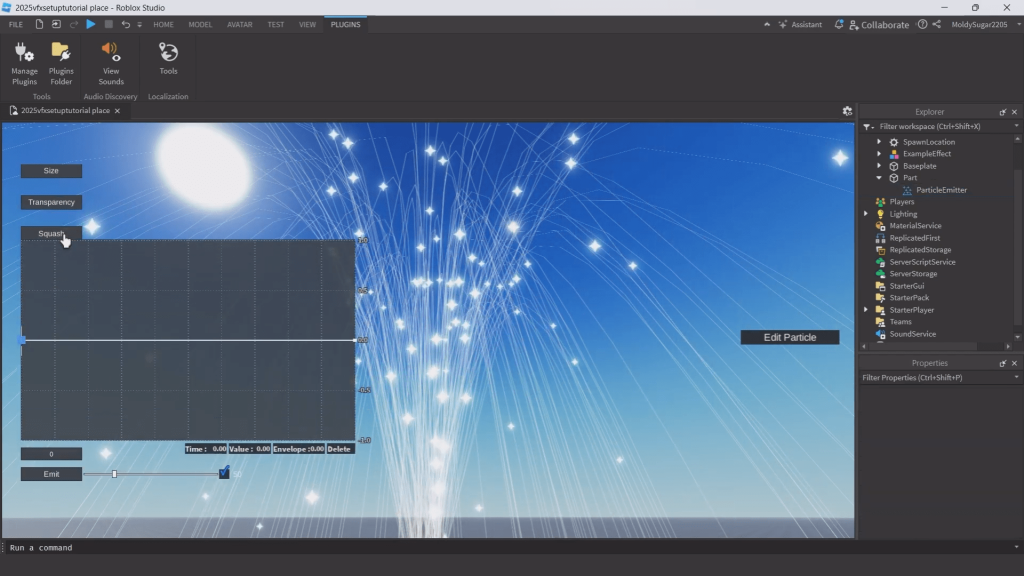
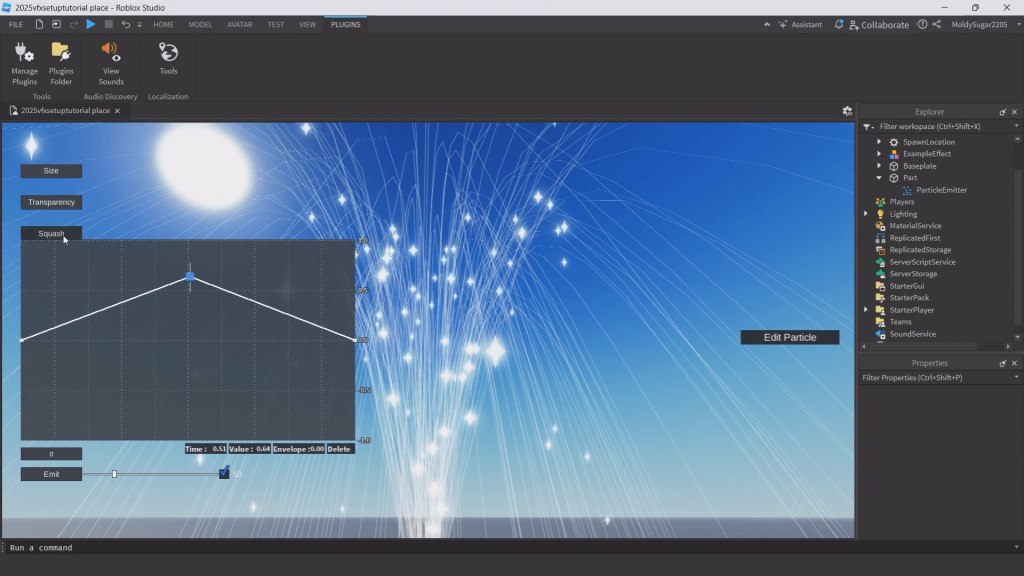
Understanding how particles move is one of the hardest parts of designing great VFX. Ros Particle Editor helps you visualize that movement.
It displays your emitter’s trajectory path, letting you clearly see how particles spread, bounce, or swirl. This makes shaping your effects way easier—especially for things like fire, debris, or magical trails.
It also includes tools for graph editing (Size, Squash, Transparency), but I mostly use it for trajectory visualization. If you want full control over your particles’ direction and form, Ros is a great supplement to the default editor.
Sometimes just seeing the shape makes all the difference
Celestial Body Dragger
[Get the plugin →]
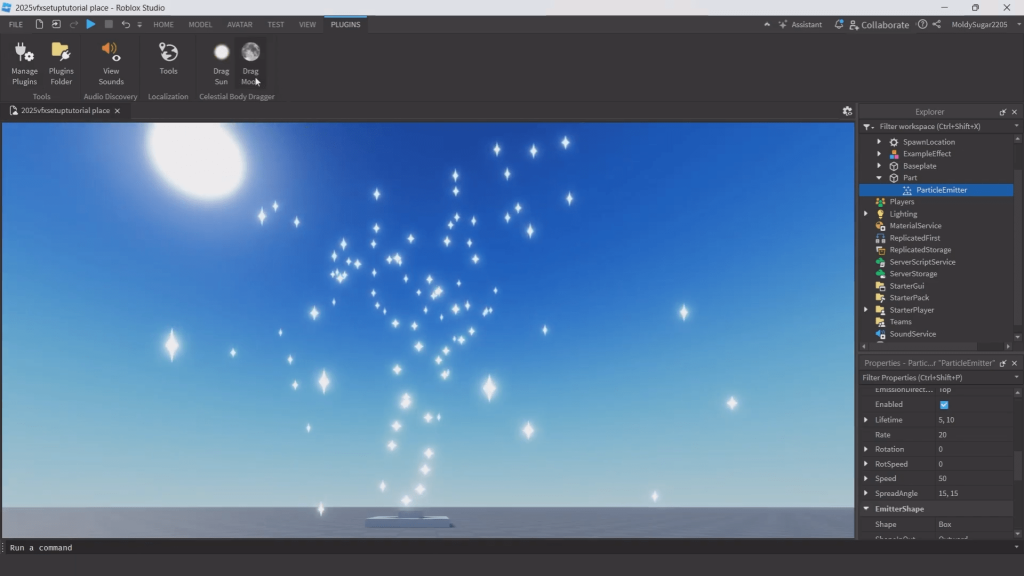
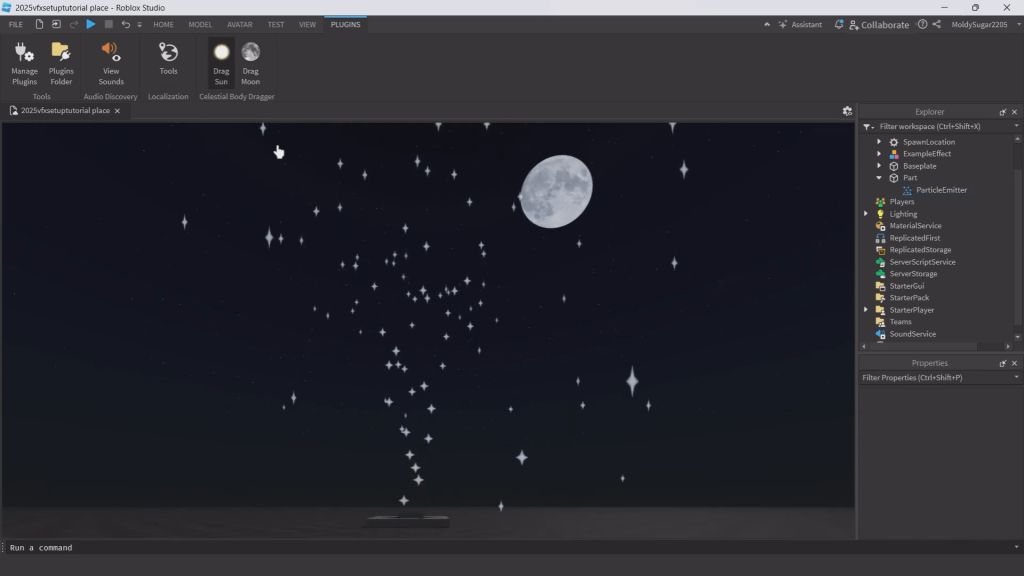
Lighting can make or break a visual effect—and moving Roblox’s sun or moon by hand is frustrating.
Celestial Body Dragger gives you a simple way to drag and drop the sun or moon position in your scene. That means you can test how your particles react to lighting, bloom, and color changes instantly.
No scripting, no guesswork—just click the icon, drag the light source, and see the results live.
It’s a small plugin, but huge for visual polish. Perfect for glowing particles, night effects, or anything where lighting plays a role.
VFX Suite
[Get the plugin →]

If you’re serious about making VFX, VFX Suite is the most powerful plugin on this list—hands down.
It gives you complete control over your effects with tools for manual emission, trail previewing, graph presets, scaling, property copying, and time scaling. It even lets you simulate trails with orbiting movement, tweak curves visually, and set up highly specific bursts with timing control.
This is the plugin I use for every effect I make.
Need to change a particle’s color and paste it to five others? Done. Want to test a slow-motion explosion with 0.5x playback? Easy. Need a clean graph with smooth transitions? There’s a preset for that.
It’s a paid plugin—but the amount of time it saves and the level of precision it gives you is worth every Robux.
If you’re building complex, polished effects, this plugin becomes essential.
Zonito Visuals
[Get the plugin →]

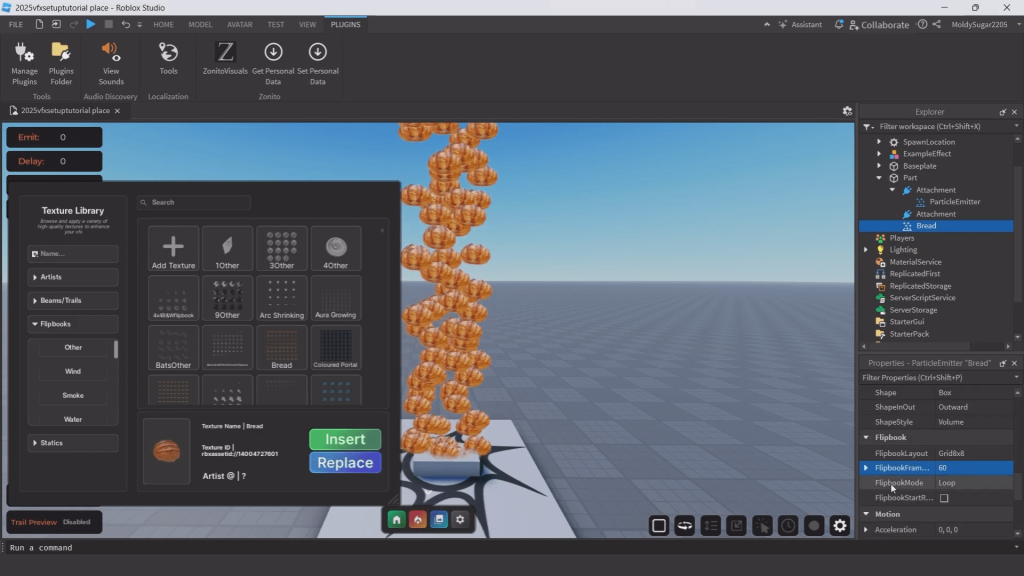
Finding high-quality flipbooks and textures for particles is a challenge—and creating them from scratch takes forever.
Zonito Visuals solves that by giving you a massive library of thousands of textures and high-end flipbooks, all curated for Roblox VFX. You can browse, preview, and apply a texture or animation to your particle with one click.
It’s fast, clean, and incredibly easy to use.
This is my go-to plugin for premium particle visuals, especially for cinematic-style effects. Whether you’re working on a magic spell, explosion, or energy burst, this plugin delivers pro-level assets in seconds.
It’s a paid plugin, but if you care about visual quality—it’s one of the best investments you can make.
Final Thoughts
Learning VFX in Roblox can feel overwhelming at first but with the right tools, it becomes not just manageable, but fun and easy to complete.
Each plugin in this list serves a specific purpose from scaling and texture editing to trail simulation and premium visuals. Whether you’re just getting started or pushing for studio quality results, using these tools will greatly improve your workflow, speed, and final output.
You don’t need to use every plugin every time but knowing when to reach for the right one is what separates good effects from great ones.
So experiment, update, and don’t be afraid to dive deep. The more you practice, the more your effects will stand out.
Now go make something