
Creating realistic, immersive environments in Roblox requires more than just placing parts and models. Terrain plays a big part in environment building therefor The Terrain Editor is recommended as a powerful tool to allow developers to sculpt expansive landscapes, add textures, and bring their worlds to life quickly and efficiently. In this guide, we’ll explore how to use the Terrain Editor to the max of what it offers and show you how to create stunning, natural looking worlds in no time.
Let’s dive in and learn how to master terrain in Roblox Studio!
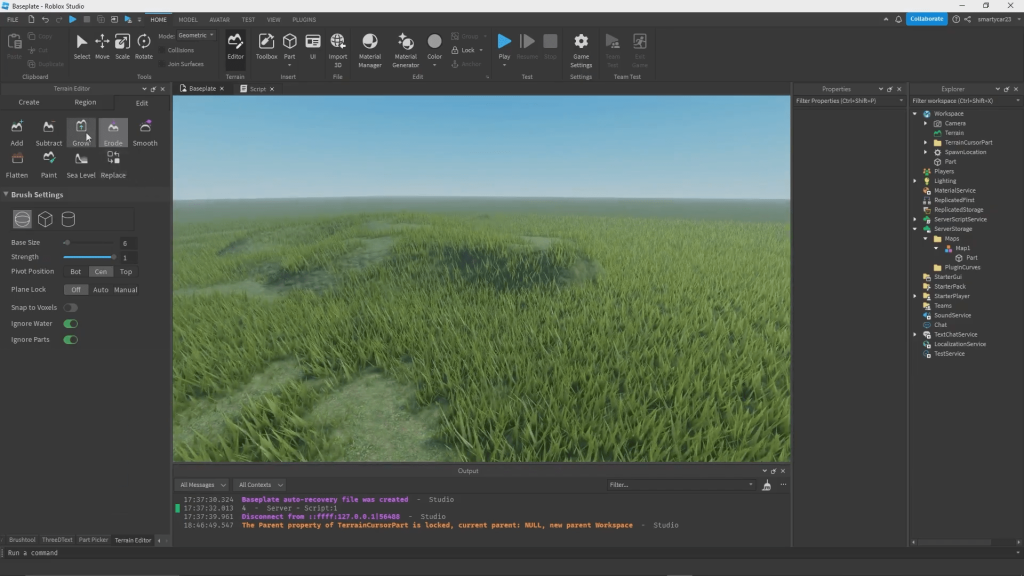
Accessing the Terrain Editor
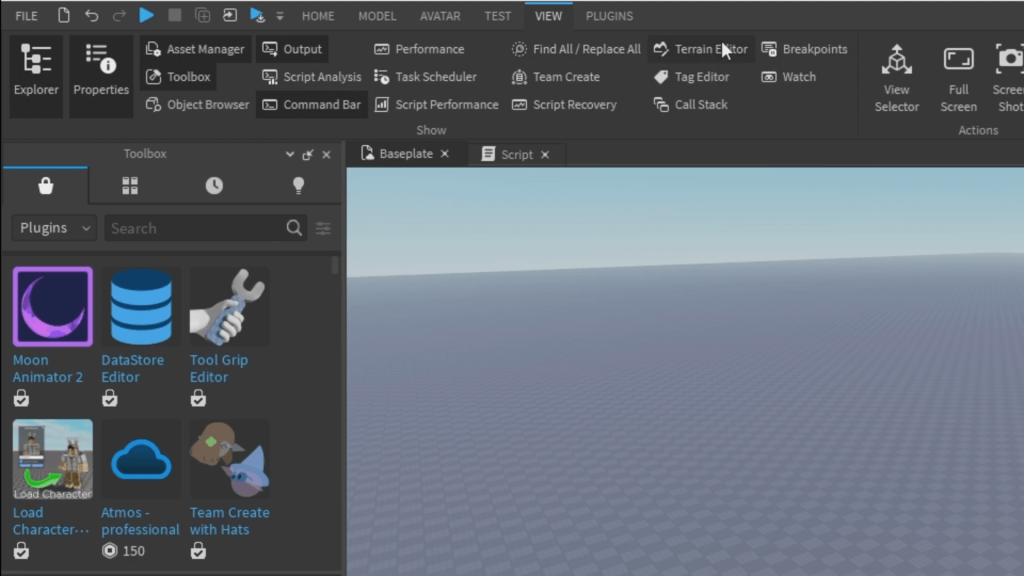
To begin, you need to open the Terrain Editor. It’s a simple process:
- Start by opening Terrain Editor in the home tab of roblox studio
- it should turn a grey color and a UI will pop up somewhere on screen
Once you’ve enabled the Terrain Editor, you’ll see it appear somewhere on your screen.
Adding Terrain: Start with the Basics
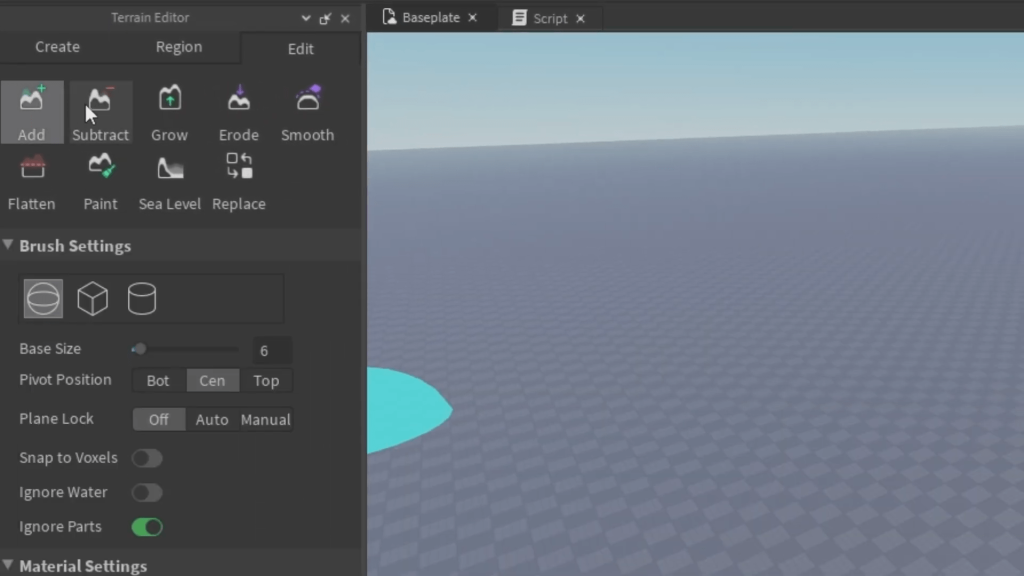
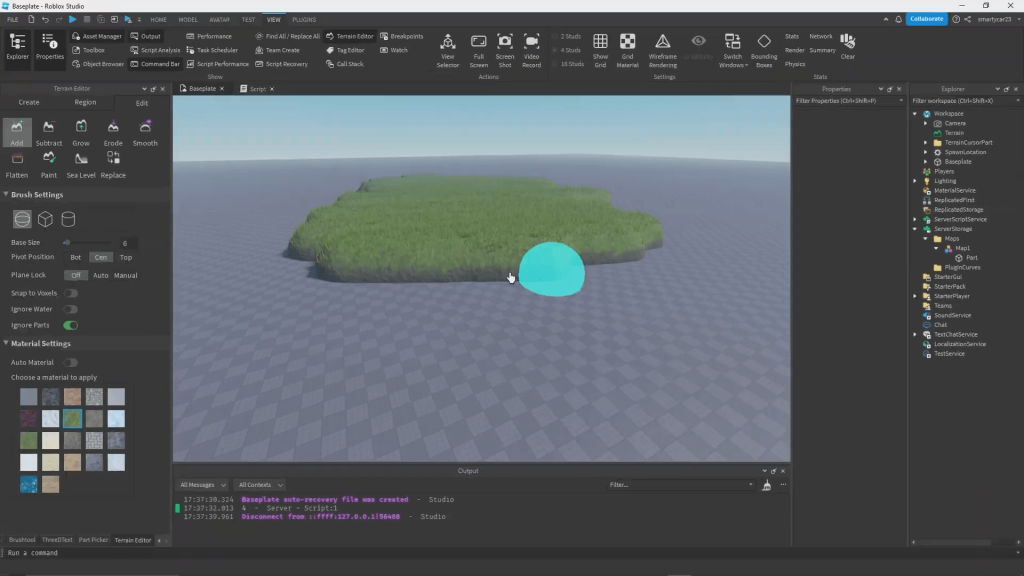
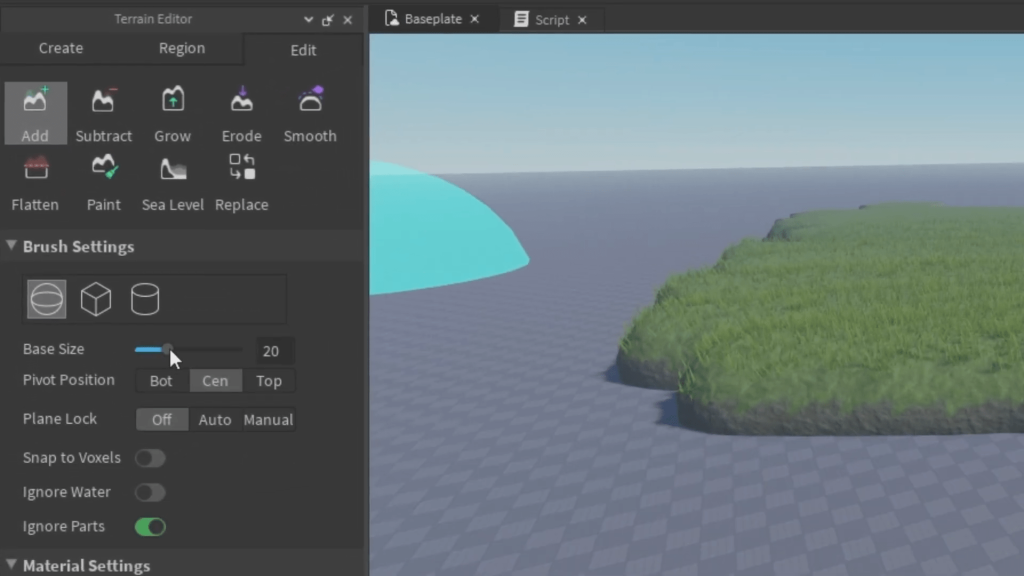
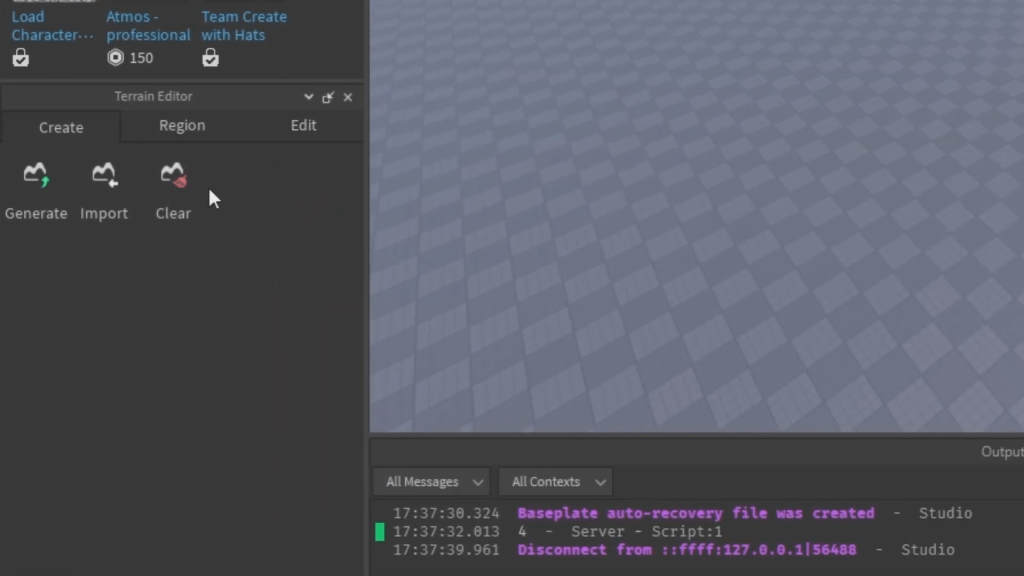
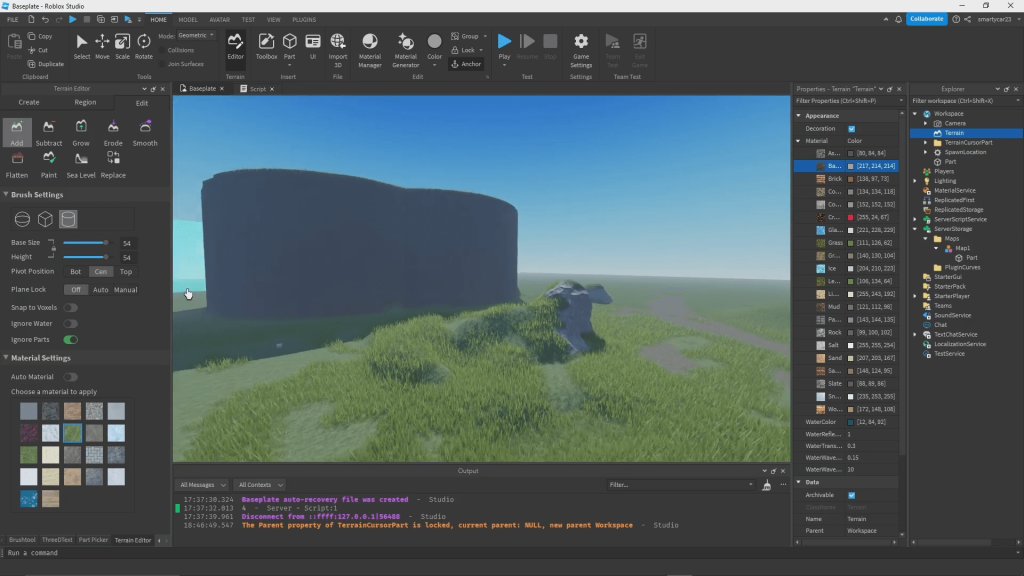
To start adding terrain, you’ll click on the Add tool.
1. Click on the Add button in the Terrain Editor.
you can adjust the size of the tool with the scale
2. press and drag your mouse to add terrain to your basplate
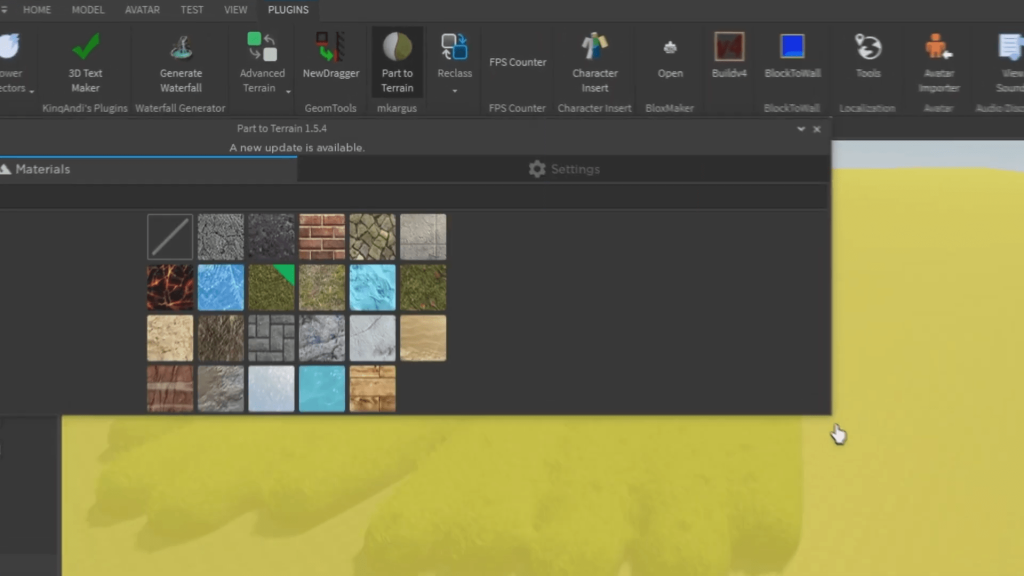
Add tool is good for creating general shapes, but can be a bit iffy at times. If you’re looking for more detail, I suggest using a plugin called Part to Terrain.
Part to Terrain allows you to change a part into terrain, making the process a lot smoother and gives you a cleaner finish . You can install this plugin from the Toolbox by searching “Part to Terrain.” If its installed, you can turn a baseplate or any part into editable terrain, which can then take on any form you want.
For more detailed terrain just make a complex build with parts and then transform that into terrain
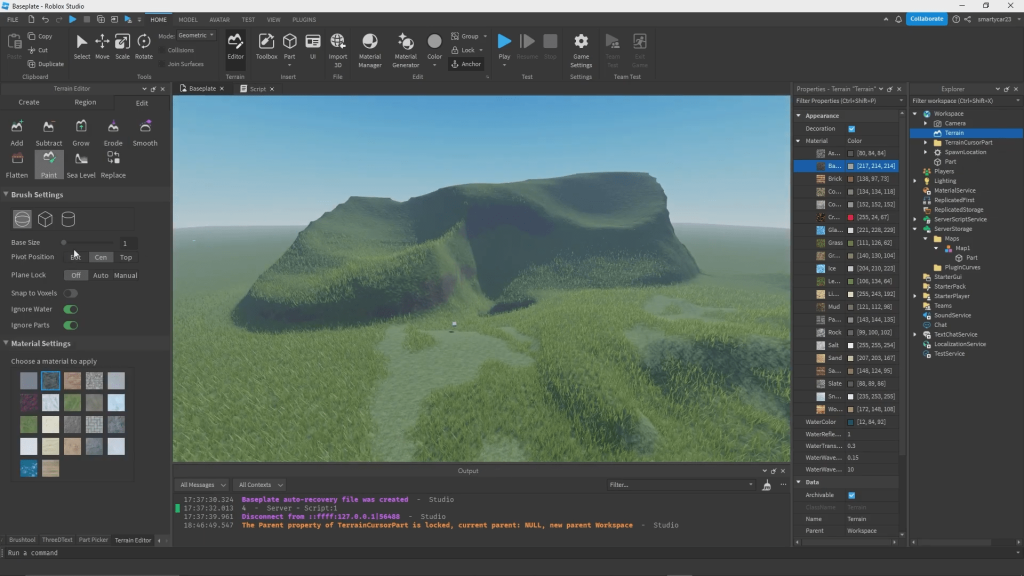
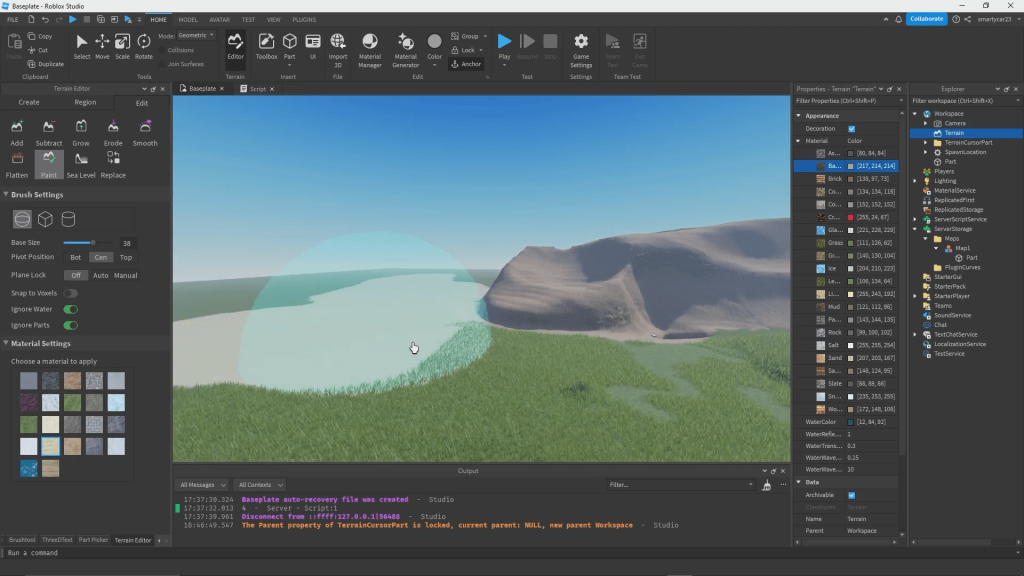
Painting Terrain: Add Texture and Detail
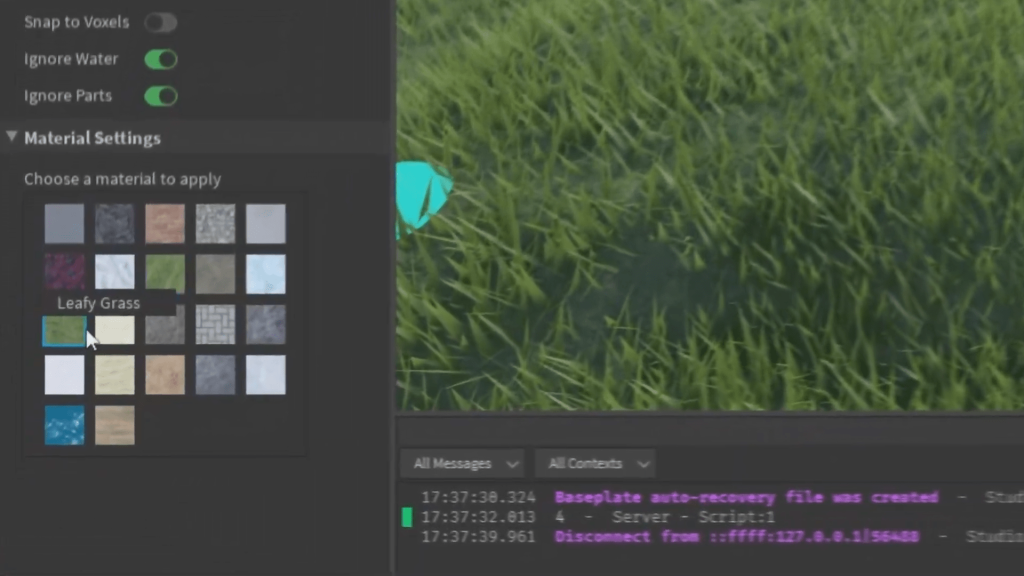
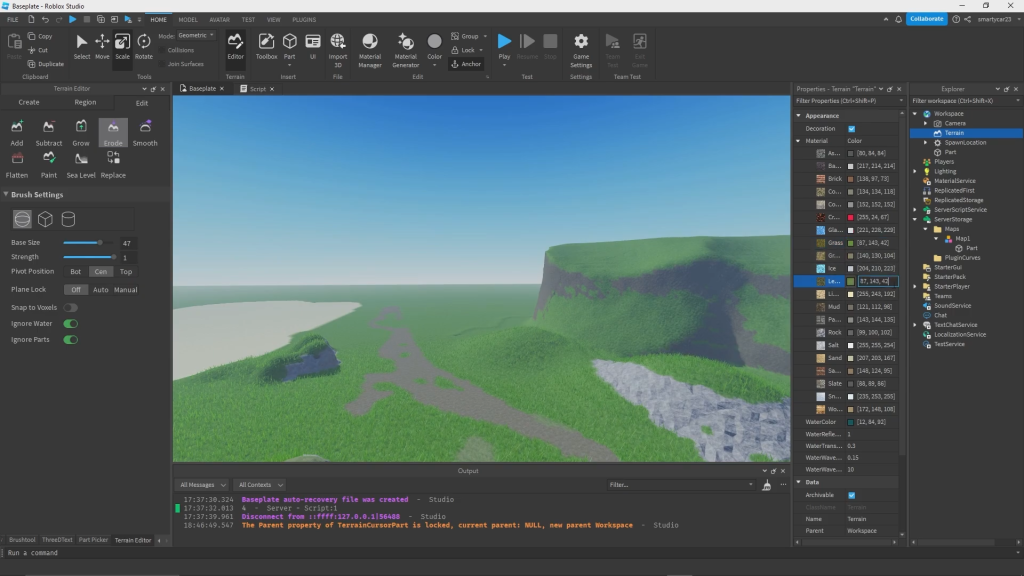
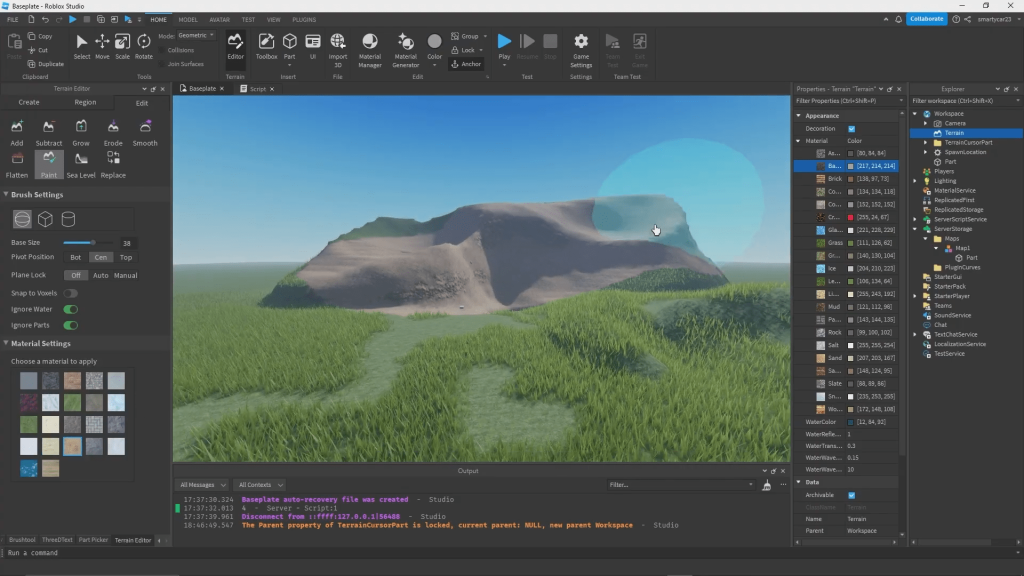
- Select the Paint tool in the Terrain Editor.
- Choose a material—let’s start with Leafy Grass.
- If needed, ensure the Terrain Decoration option is enabled to show the 3D grass blades on the terrain.
- Paint the area by clicking and dragging the tool over the terrain.
One of the most exciting features of the Terrain Editor is the Paint tool. This allows you to apply materials to your terrain, adding color, texture, and depth to your world. Let’s walk through painting a surface:
Leafy Grass is especially useful for painting areas without the 3D grass blades, allowing you to create variation and more natural-looking environments. It’s perfect for adding grass in flat areas or on parts where you don’t want the tall blades sticking through.en landscape. It’s a great way to tidy up uneven areas or reset a piece of terrain before modifying it further.part into editable terrain with just a click.
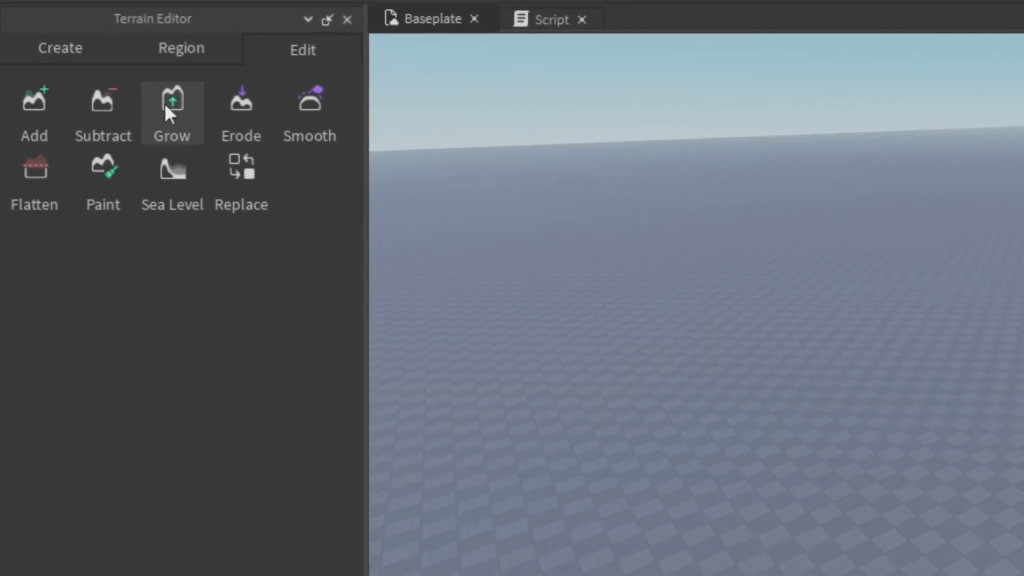
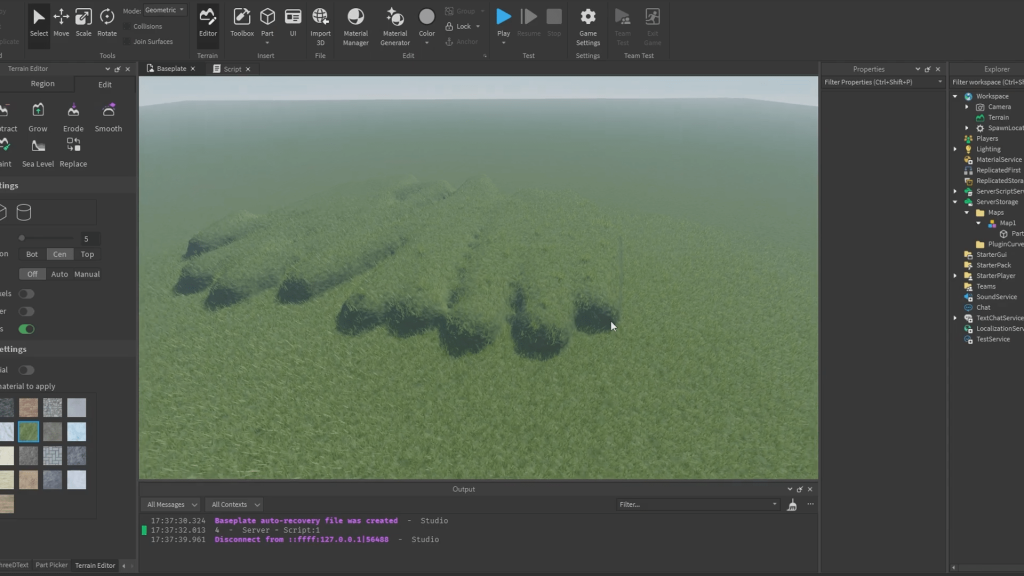
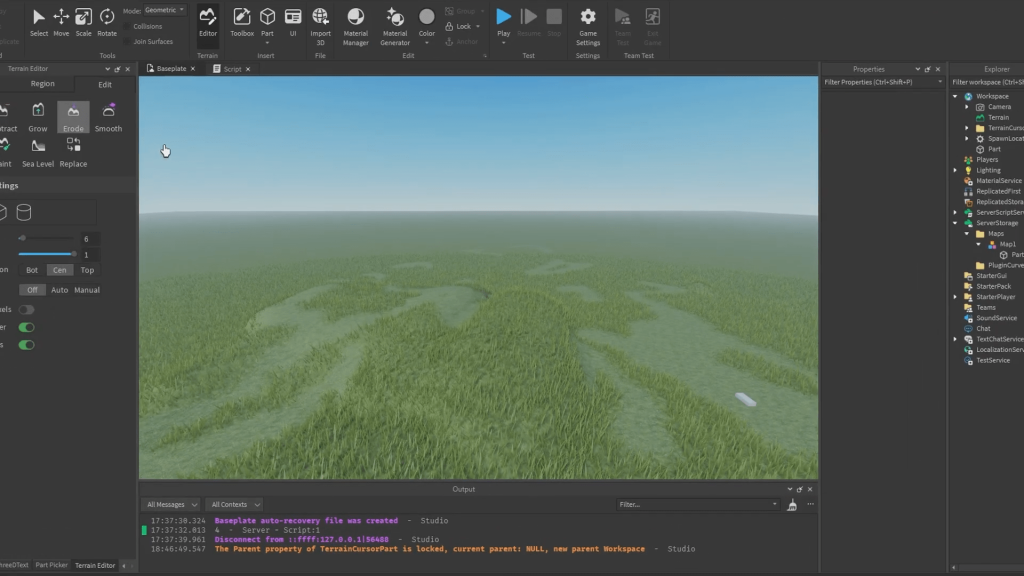
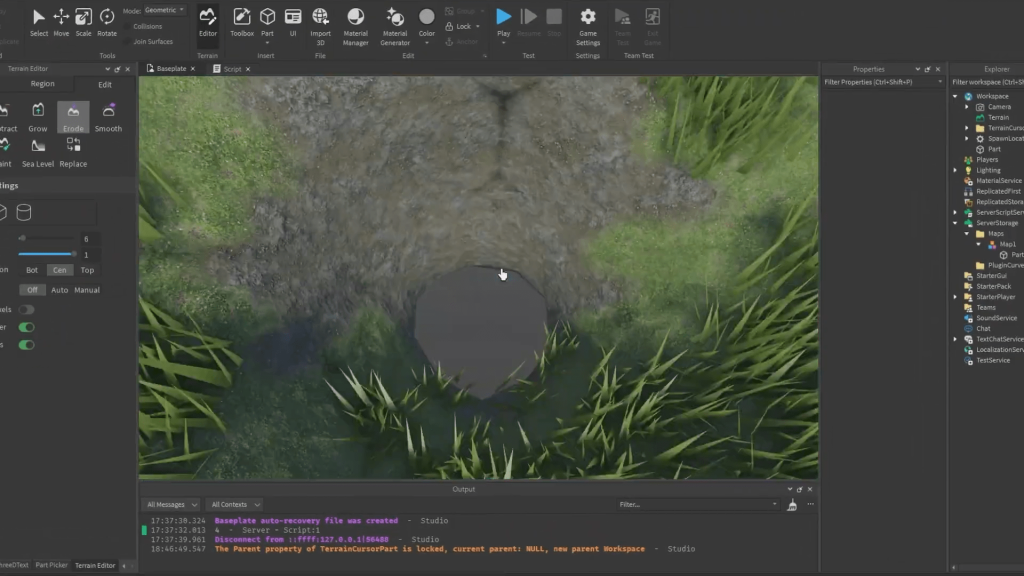
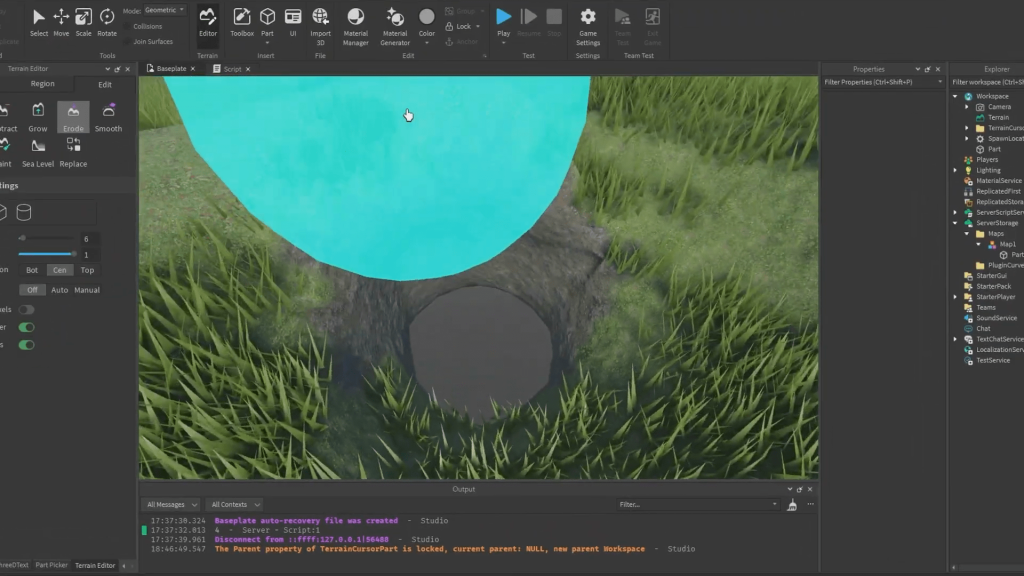
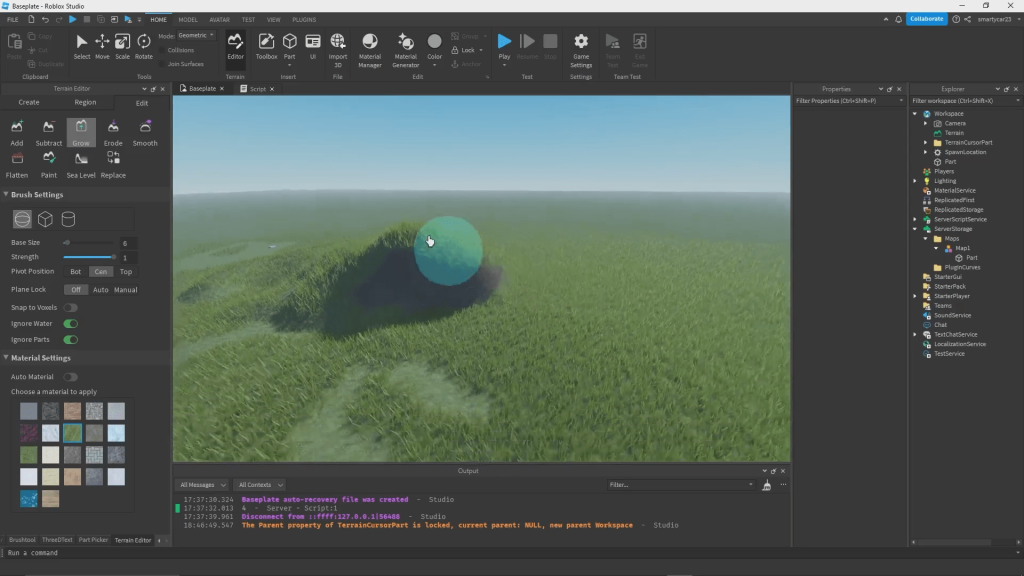
Sculpting Terrain: Grow and Shape Your World

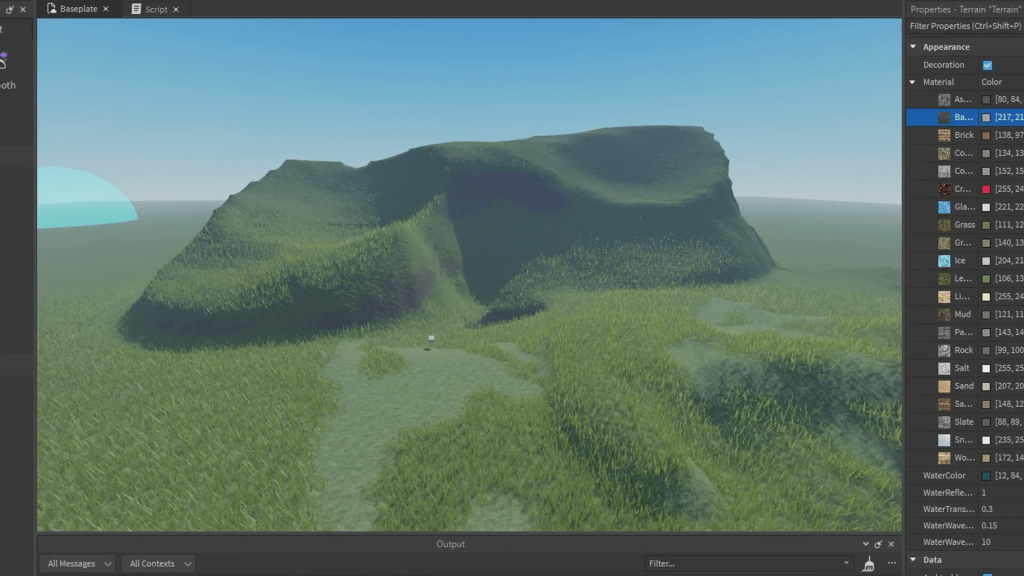
The Grow and Road tools are amazing for shaping terrain and personalizing your lanscapes. We will go over a few terrain tools to help you in your terrain endeavors!
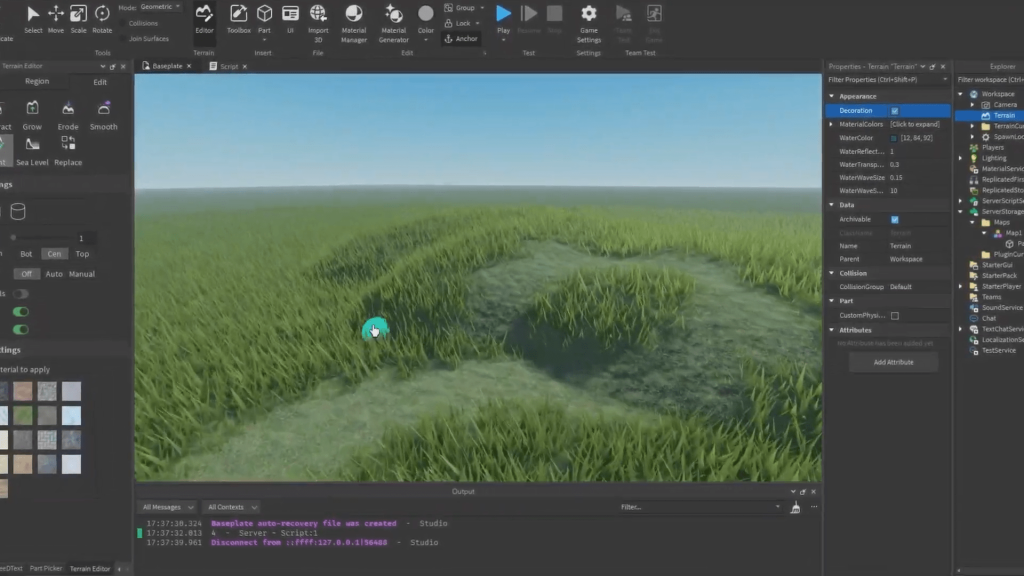
Grow Tool: This tool lets you extend and raise terrain to create hills, mountains, or elevated areas. It’s ideal for adding some height to your map and sculpting natural landscapes. To create a hill, use the Grow Tool and adjust its size. Click and drag to push the terrain upwards, shaping the land however you see fit.
Road Tool: The Road Tool allows you to push terrain inward and create impressions, valleys, or carved paths.
You can use both tools together to sculpt detailed environments, creating everything from hills to deep canyons. After shaping the terrain, you can enhance the look by painting the sides of the hills with materials like Basalt, which gives a rocky, realistic texture to slope the landscape.
Hope this expands your knowledge on terrain tools, utilizing all tools roblox has to offer will greatly improve your games graphics if you previously had flat terrain.
Advanced Terrain Techniques: Custom Materials and AI Tools
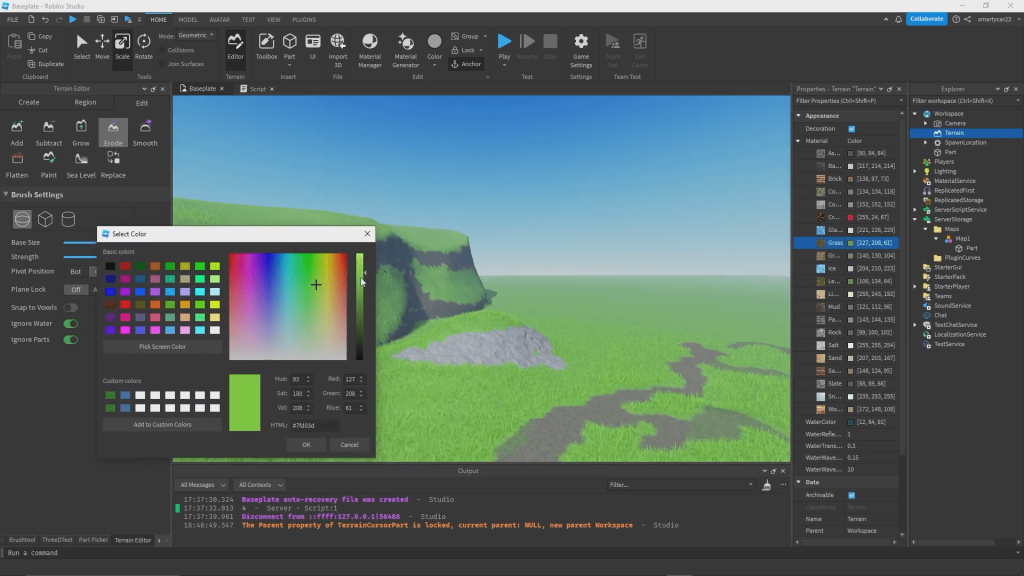
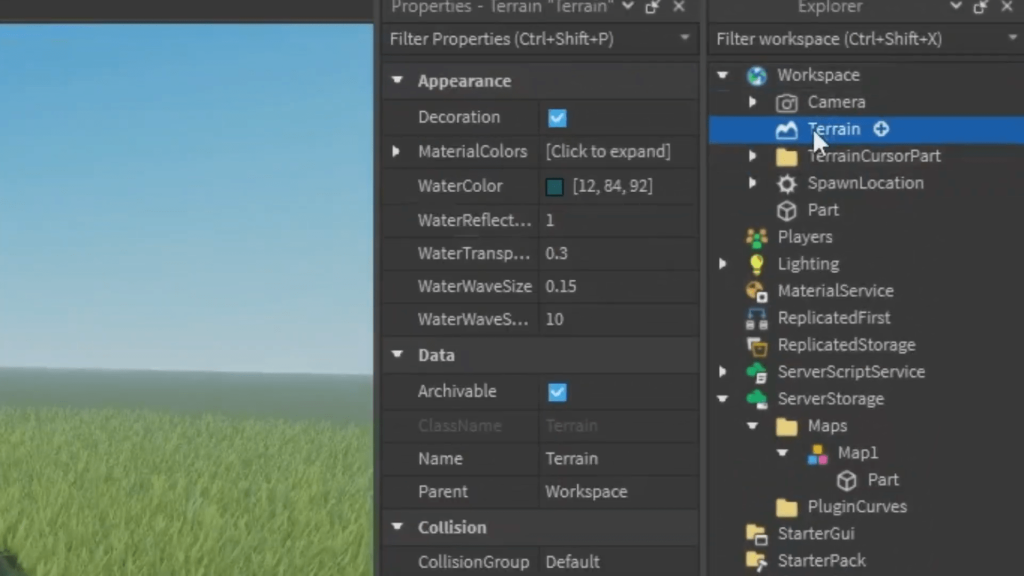
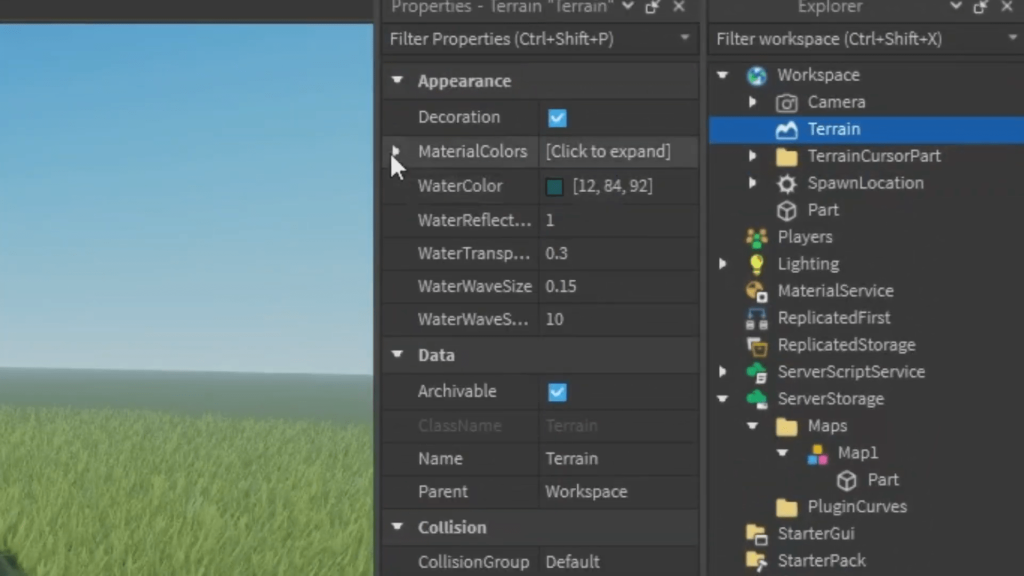
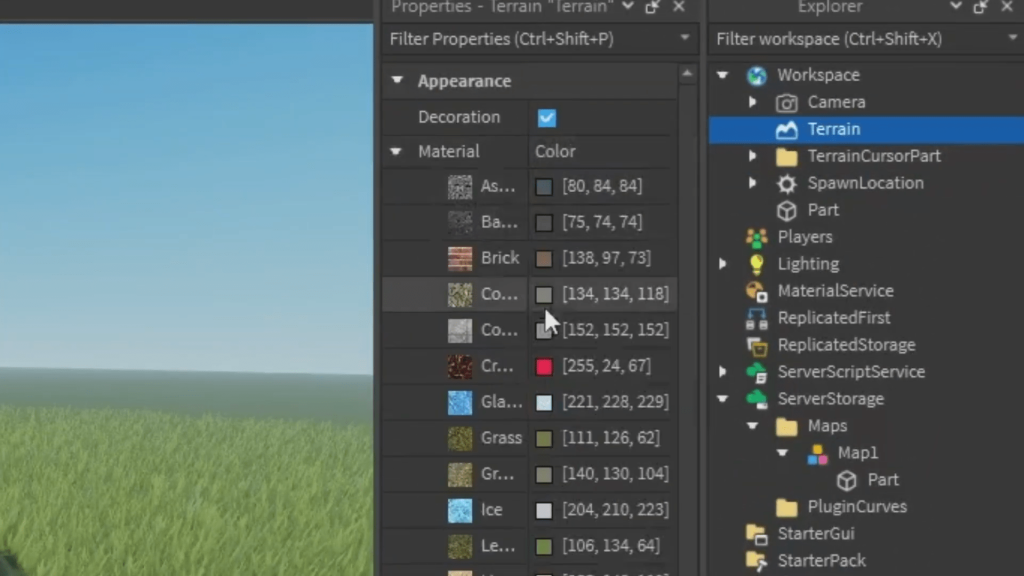
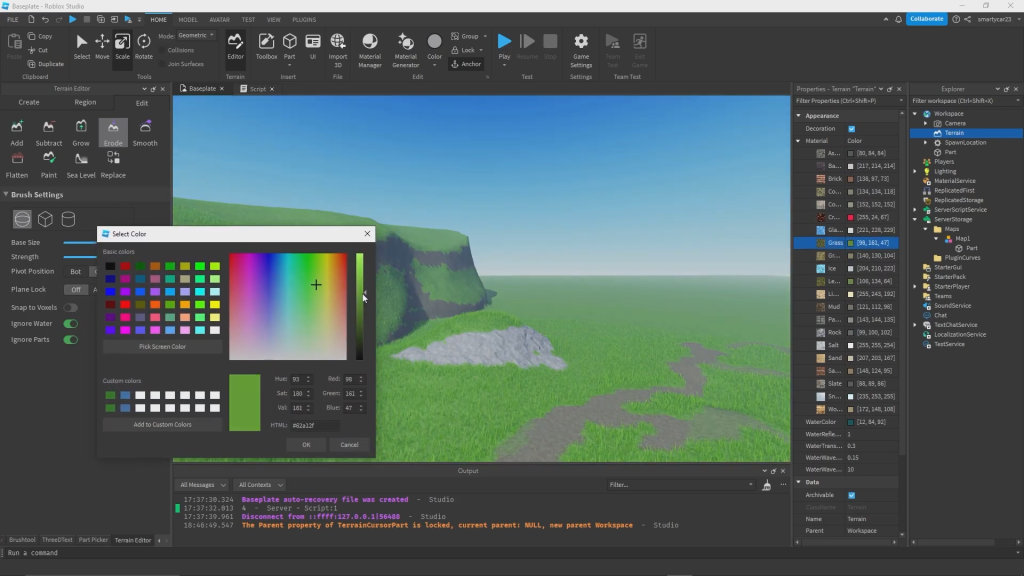
The Terrain Editor has received significant upgrades, especially with the introduction of Material Service and the Material Generator.
- Material Service allows you to change the default materials for terrain, letting you create custom colors and textures. For example, you can make your grass brighter, or apply a different texture for all your terrain in one go.
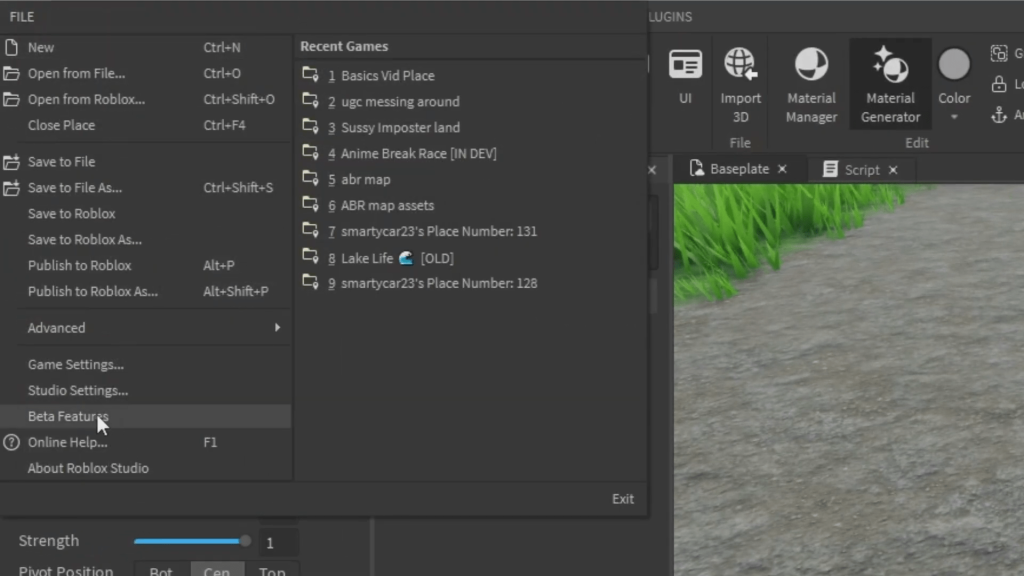
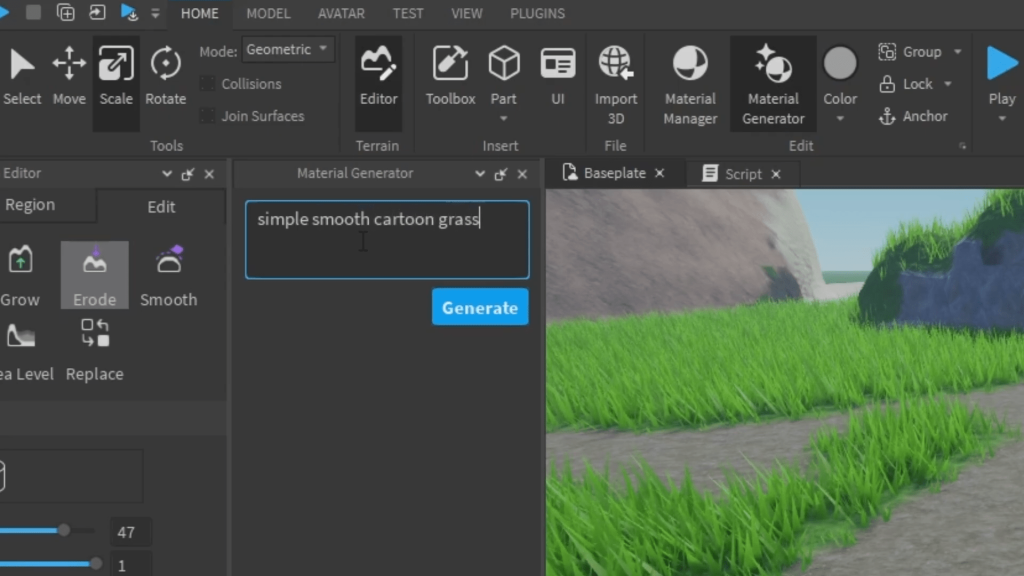
- The Material Generator (available in beta features) is a game-changer. With this tool, you can generate materials for your terrain instantly. You can create everything from cartoon-style textures to smooth, stylized surfaces.
Here’s how to use the Material Generator:
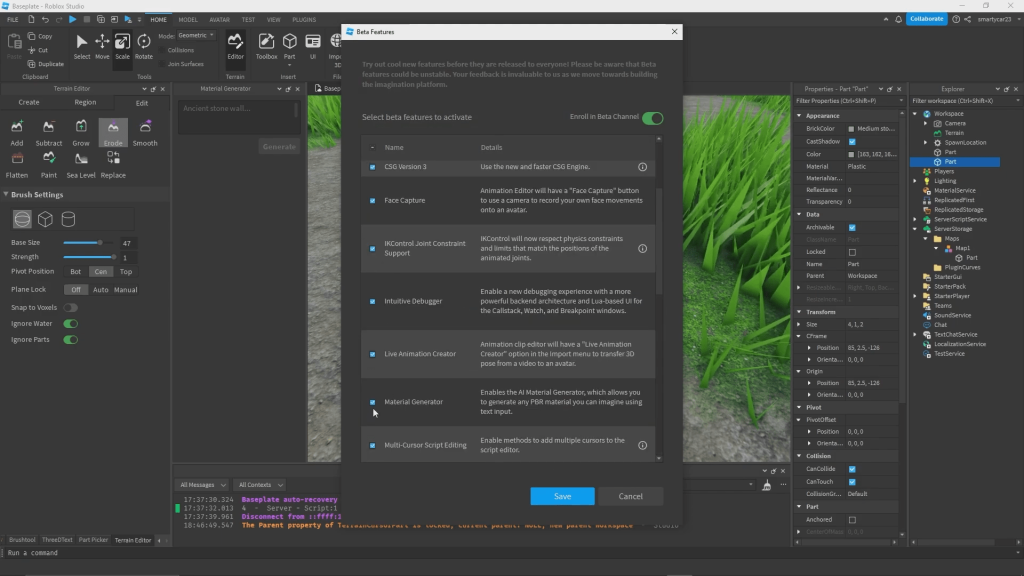
- Enable Material Generator from File > Beta Features.
- Create or select a part in your game.
- Open the Material Generator, choose a material type (like cartoon grass or smooth rock), and apply it.
This tool makes experimenting with different textures and materials faster and easier than ever. Whether you’re creating realistic environments or cartoony biomes, the possibilities are endless.
Final Thoughts: Create Your Dream Worlds
The Terrain Editor is an incredibly powerful tool that can help you bring your Roblox worlds to life. Whether you’re adding simple terrain, flattening areas, painting textures, or sculpting realistic landscapes, the possibilities are endless.
By mastering the Terrain Editor and integrating plugins like Part to Terrain, you can create anything from lush forests to towering mountains in no time.
If you want to take your terrain-building skills to the next level, try exploring the Material Service and AI-powered Material Generator. These advanced tools offer even more creative freedom and can help you make your worlds stand out.
Want to learn more tips and tricks for building amazing environments? Check out other videos and guides that dive deeper into terrain and world-building techniques!
Happy building, and I can’t wait to see what you create with Roblox Studio’s Terrain Editor!