
Want to design your own shirt on Roblox and earn Robux from it? It’s easier than you might think, and you don’t need to be a pro designer to get started. In this guide, we’ll walk you through the entire process from creating your shirt to uploading it on Roblox and even selling it for Robux. Whether you’re new to Roblox design or just need a simpler way to make your shirt, this post will cover all the basics!
Step 1: Download a Roblox Shirt Template
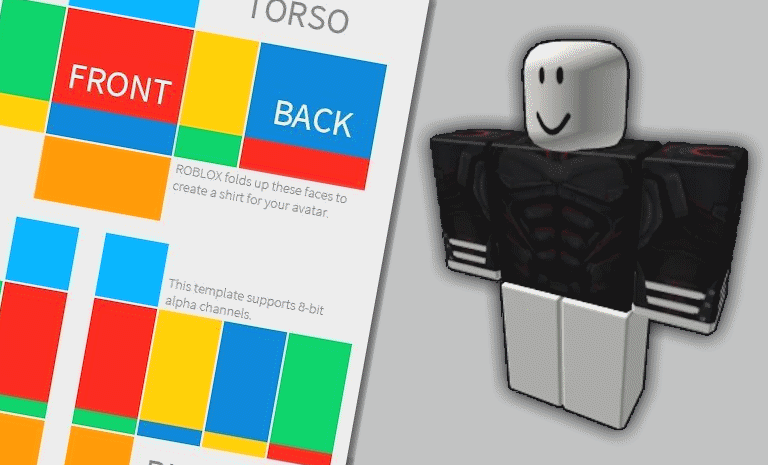
The first thing you’ll need is a shirt template. You can easily find it by searching on any browser like Google “Roblox transparent shirt template“. Download the image and save it to your downloads, would be good to also create a folder named shirts so all your stuff is in one place in future.
Step 2: Open Photopea and Start a New Project
To design your shirt, we’ll use Photopea, a free online photo editing tool. Go to photopea.com and create a new project. Set the dimensions to 585 x 559 pixels, which is the correct size for Roblox shirts.
- Click “New Project”.
- Set the width to 585 pixels and height to 559 pixels.
- Choose a transparent background, then click “Create”.
Step 3: Add Your Shirt Template
Now, upload the shirt template you downloaded earlier. To do this, go to the “Downloads” folder on your computer, and drag the shirt template into your new project on Photopea.
Step 4: Start Designing Your Shirt
The shirt template is made up of several layers: the arms, torso, and other parts of the shirt. You can use these layers to create your design.
- Add Color: Click on the selection tool and choose where you want to add color. Then, use the gradient or paint bucket tool to fill in the areas with your desired color.
- Create a Neck Cutout: Use the ellipse tool to select the neck area and hit Backspace to remove it, leaving a neck cutout in the design.
- Add Designs: You can either draw or add images and designs to the shirt. Use the text tool to add text, choose a color, and customize the font. You can also apply effects like shadows or outlines to your text to make it pop.
- Add Shading: If you want to add some depth to your shirt, search for a shading template online (make sure it’s free to use). Once you find one, drag it into your design and adjust the layers accordingly.
Step 5: Export Your Design
When you’re happy with your design, it’s time to save it. Go to File > Export As > PNG to save the shirt as a PNG file. This file is ready to be uploaded to Roblox.
Step 6: Upload Your Shirt to Roblox
- Log in to Roblox and go to the Create page.
- Select Shirts from the options, then click on Choose File.
- Find your saved design and upload it. Don’t forget to name your shirt and add a description!
Note: Uploading a shirt costs 10 Robux, so make sure you have enough in your account before proceeding. This fee helps to prevent bots from spamming uploads.
Step 7: Configure and Sell Your Shirt
Once your shirt is uploaded, you can configure it. Go to the shirt page, click on the Configure button, and set it for sale.
- In the Sales tab, enable Item for Sale.
- Set the price (we recommend 5 Robux for a higher chance of sales).
- Hit Save.
Your shirt is now available for others to buy, and you can start earning Robux!
Step 8: Promote Your Shirt
To increase your chances of selling your shirt, consider promoting it. Share the link on your social media or in Roblox groups. The more exposure your shirt gets, the higher the chances someone will buy it.
Conclusion
Designing and selling shirts on Roblox is a fun and profitable way to get involved in the Roblox community. By following this simple guide, you can create your own unique designs and start earning Robux in no time. If you have any questions or need more tips on making Robux on Roblox, check out our other videos and blog posts. Happy designing!