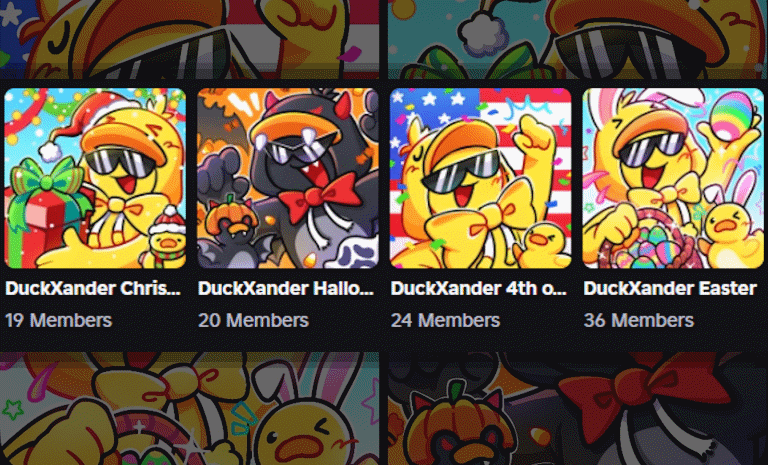
Creating a professional-looking group logo can be a game-changer when trying to attract members to your Roblox group. Whether you’re running a gaming community or just want to make your group stand out, a great logo can help you look more polished and appeal to potential members. In this guide, we’ll walk you through how to design an eye-catching group logo using a free tool, Photopea.
Why Does a Logo Matter?
Before diving into the design process, let’s talk about why a logo is so important for your Roblox group. A good logo helps your group look more professional, which can attract more members. Think about how simple yet effective logos, like the ones used by big Roblox games, have drawn millions of players. A logo gives your group a sense of identity, and it only takes a few minutes to design something that can make a big difference in your group’s success.
Step 1: Setting Up Your Workspace
To start, head over to Photopea, a free and powerful design tool that works similarly to Photoshop. Don’t worry, you don’t need any prior experience with graphic design to get started! Follow these simple steps to set up your project:
- Create a New Project
- Click on “New Project”.
- Set the dimensions to 512×512 pixels (a good standard size for logos).
- Click OK to start working.
- Choose Your Background
- You can either upload a background image or create your own.
- If you choose a solid color, click the sticky note at the bottom of the layers panel and fill it with your desired color (a teal or blue color works great for backgrounds).
Step 2: Adding Images to Your Logo
Once you’ve got your background set up, it’s time to add some images that represent your group. This is where you can get creative!
- Find an Image: Use a free image website like Pixabay to find high-quality, royalty-free images. For instance, if your group is about gaming, you might want to add a controller.
- Resize the Image: After pasting the image into your project (Ctrl + V), resize it using the handles that appear around the image. Adjust the size so it fits your logo properly.
Step 3: Enhancing Your Design
Now, let’s add some finishing touches to your logo to make it pop!
- Gradient Background
- Right-click the background layer and choose Blending Options.
- Click Gradient Overlay and adjust the colors (try adding a light blue to dark blue gradient for a smooth, modern look).
- Drop Shadow for Depth
- Select the object or text you want to add a shadow to.
- Go to Blending Options and enable the Drop Shadow effect to give your elements a floating appearance.
Step 4: Adding Text
Text is crucial for your logo as it tells people the name of your group. Here’s how to add and customize it:
- Add Your Group Name:
- Select the Text Tool (the “T” icon) and click on your workspace to create a text box.
- Type in your group name (e.g., Cool Games), and adjust the size using Ctrl + A to select all the text.
- Customize the Font:
- Photopea offers a variety of fonts to choose from. Experiment with different fonts until you find one that fits your group’s vibe.
- Text Effects:
- Stroke: Right-click the text layer and go to Blending Options. Enable the Stroke effect to outline your text, which makes it easier to read over your background.
- Warp Text: For a more dynamic look, you can warp your text by clicking on the Warp option and adjusting the curvature.
Step 5: Final Adjustments
Make any final tweaks to your logo:
- Rotation: Rotate any images or text by clicking on the corners of the handles and dragging.
- Layer Order: Rearrange layers by dragging them up or down in the layers panel. This helps you manage what’s in the foreground or background.
Step 6: Saving and Exporting Your Logo
Once you’re satisfied with your logo, it’s time to save and export it:
- Save Your Work:
- Go to File > Save as PSD. This will preserve all your layers and allow you to come back and make changes later.
- Export as PNG:
- For uploading to Roblox, go to File > Export As and choose PNG. This will create a high-quality image you can use for your group’s logo.
Bonus Tips
Hue and Saturation: If you want to make the colors more vibrant or change the mood of your logo, use the Hue/Saturation adjustment to tweak the color palette.
Layer Effects: Add Color Overlay to certain layers for more vibrant colors or shadows for depth.
Conclusion
Creating a great Roblox group logo doesn’t have to be complicated! With Photopea, you can make a professional logo in just a few steps, and the best part is that it’s free. Remember, a good logo helps establish your group’s identity and can even attract more members. So, get started on your design today, and watch your group grow!
Next Steps
Want to monetize your group even further? Check out our next guide on how to make Robux by selling shirts in your group!

